Ultimate Gaming Rig - It's But a Scratch!

Overview of the Build
After redecorating my office, I was driven by the need for a space-efficient yet powerful gaming PC that complements my office décor. My goal was to achieve the perfect balance between form and function, resulting in a machine that not only performs optimally but also elevates my gaming experience. My past experience with the Skyreach Mini case, though compact, left me yearning for more GPU compatibility with todays modern length GPU`s (I previously had a Zotact GTX 1080ti mini). I also found the thermals quite disappointing. I have used many systems over the years, from laptops to big desktop heaters to complete custom SFF builds and even VM's. I definitely have done full circle 😆.
Let's get started on my minimal, high performing PC with future compatibility and a black/ yellow theme.
Goals
Selecting the right hardware is crucial to the success of any build. For this build, I had the following goals, highest priority to lowest priority:
- Future compatibility
- Enough performance to achieve the 144hz my monitor is.
- Falls into the SFF category.
- Low cost (well, for a high-end build…).
Hardware selection
Now that we have defined the goals, let’s select the actual hardware!
Case
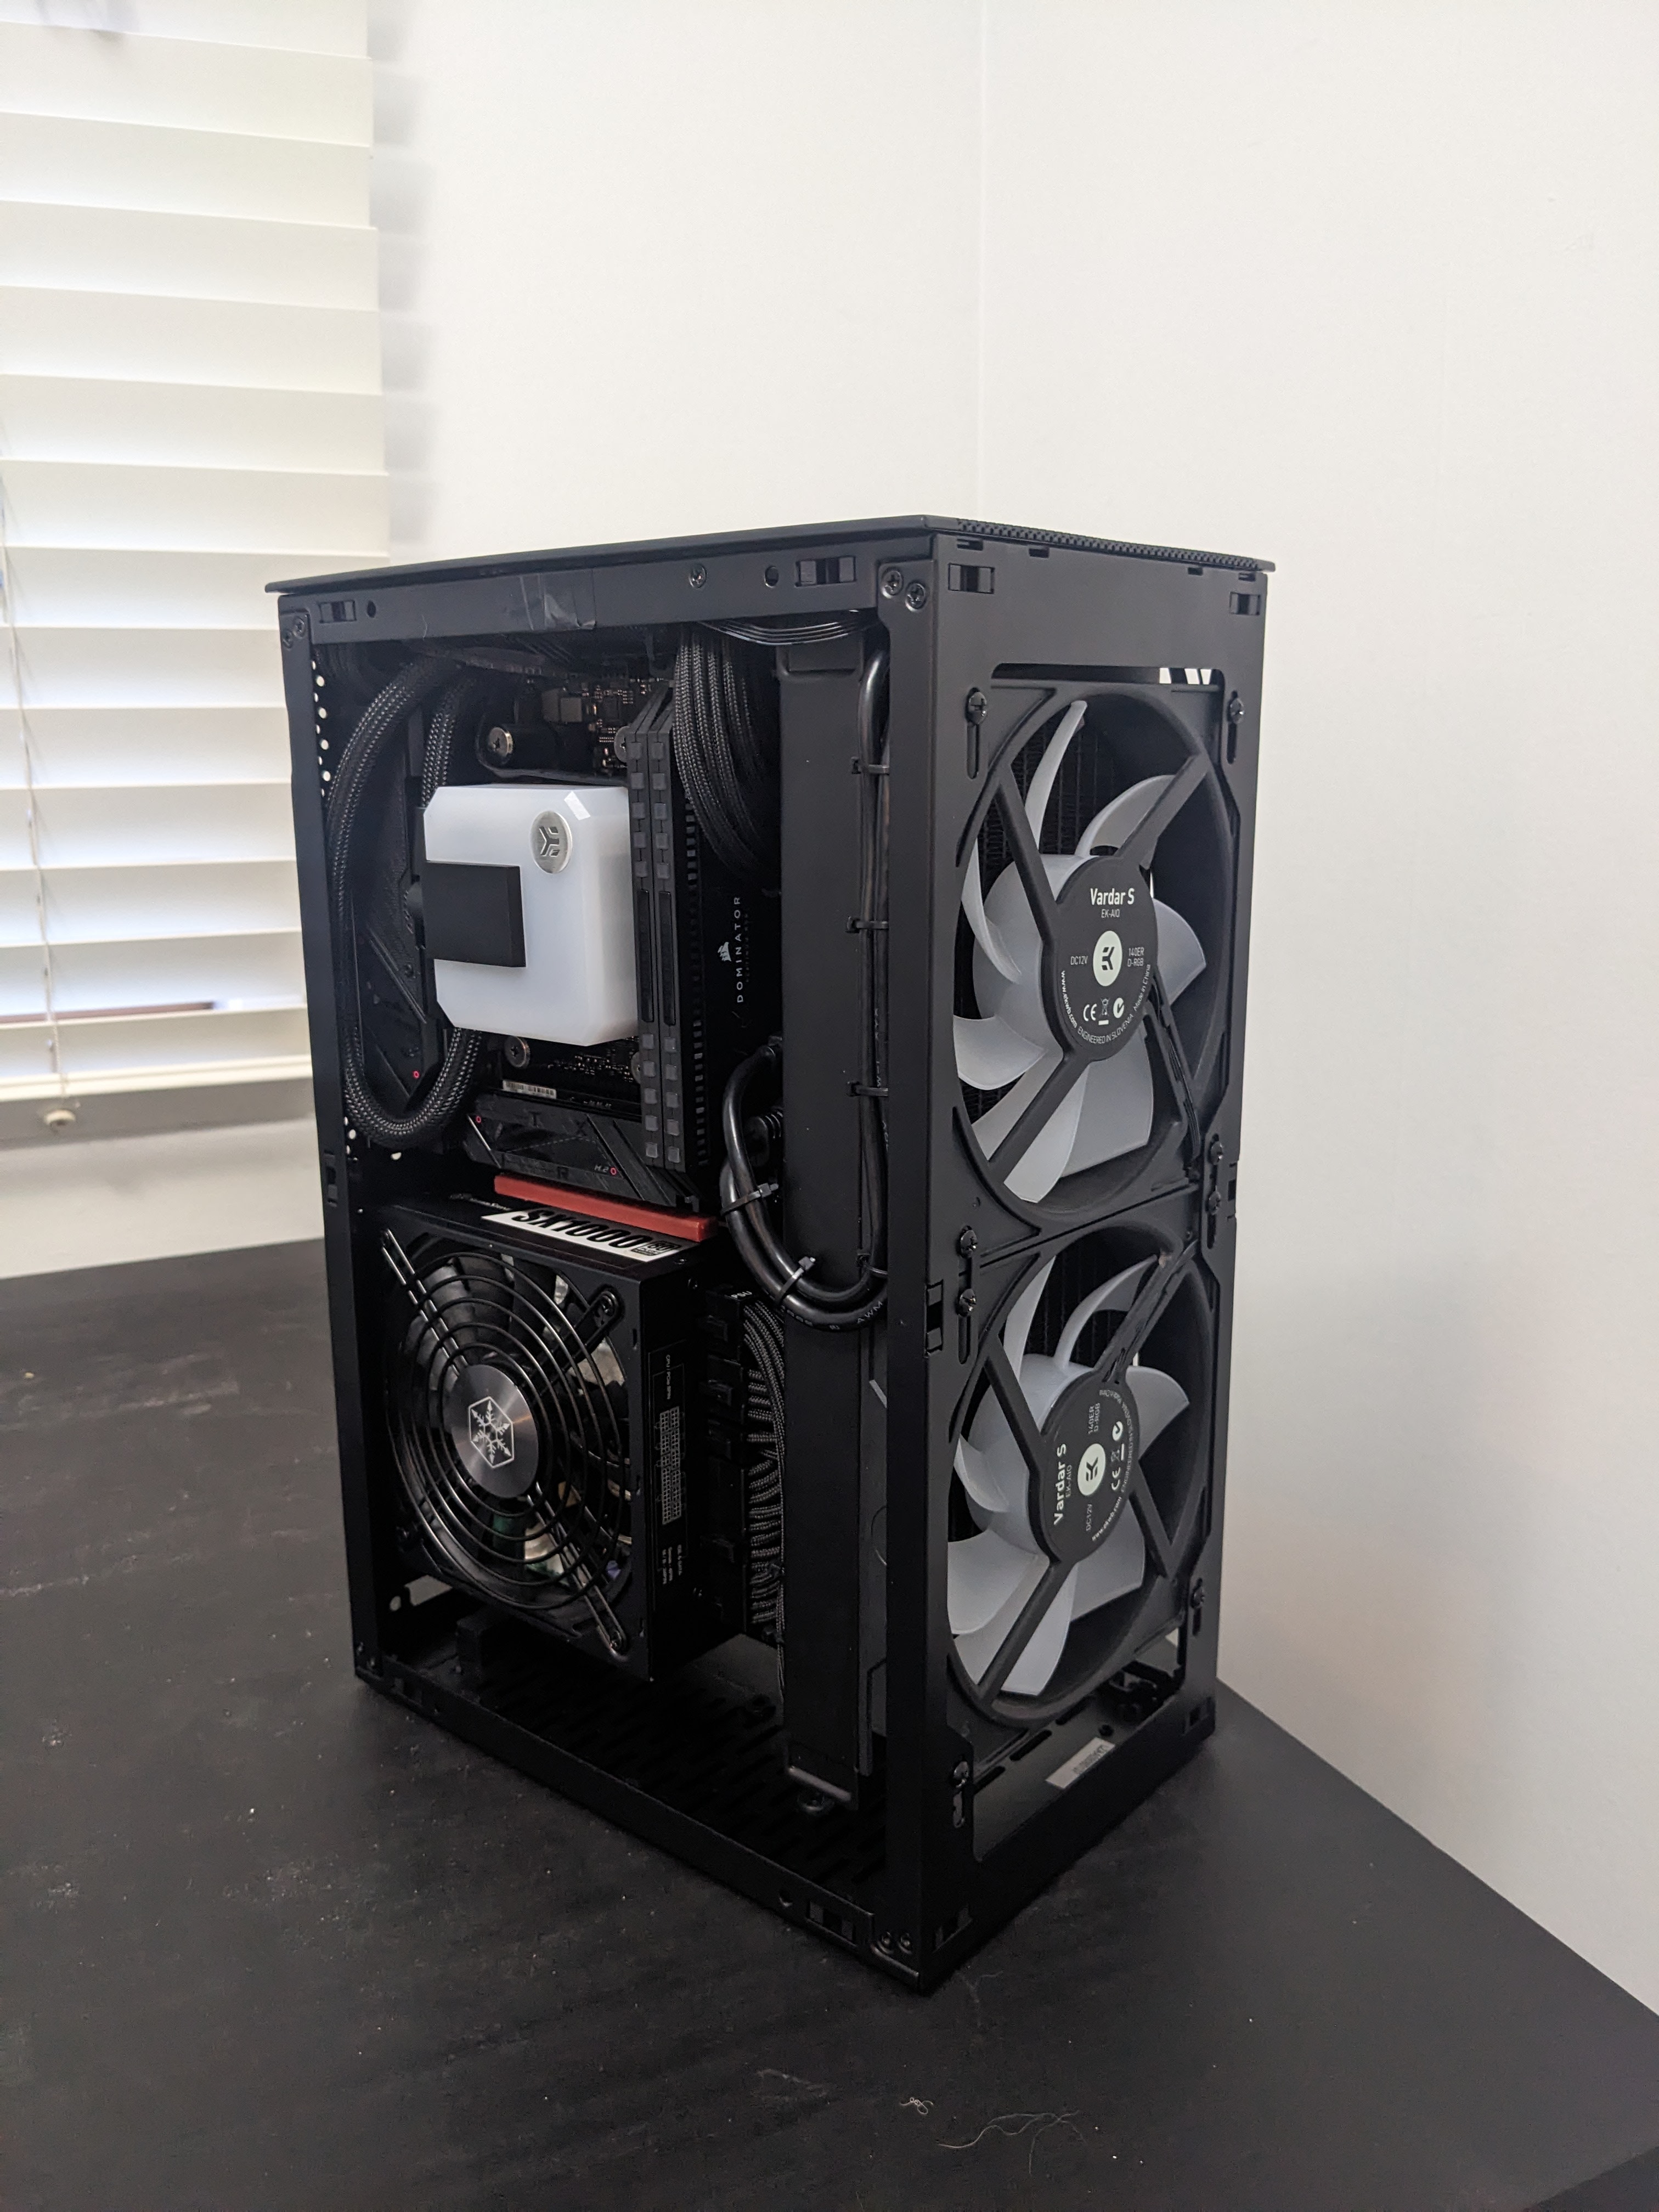
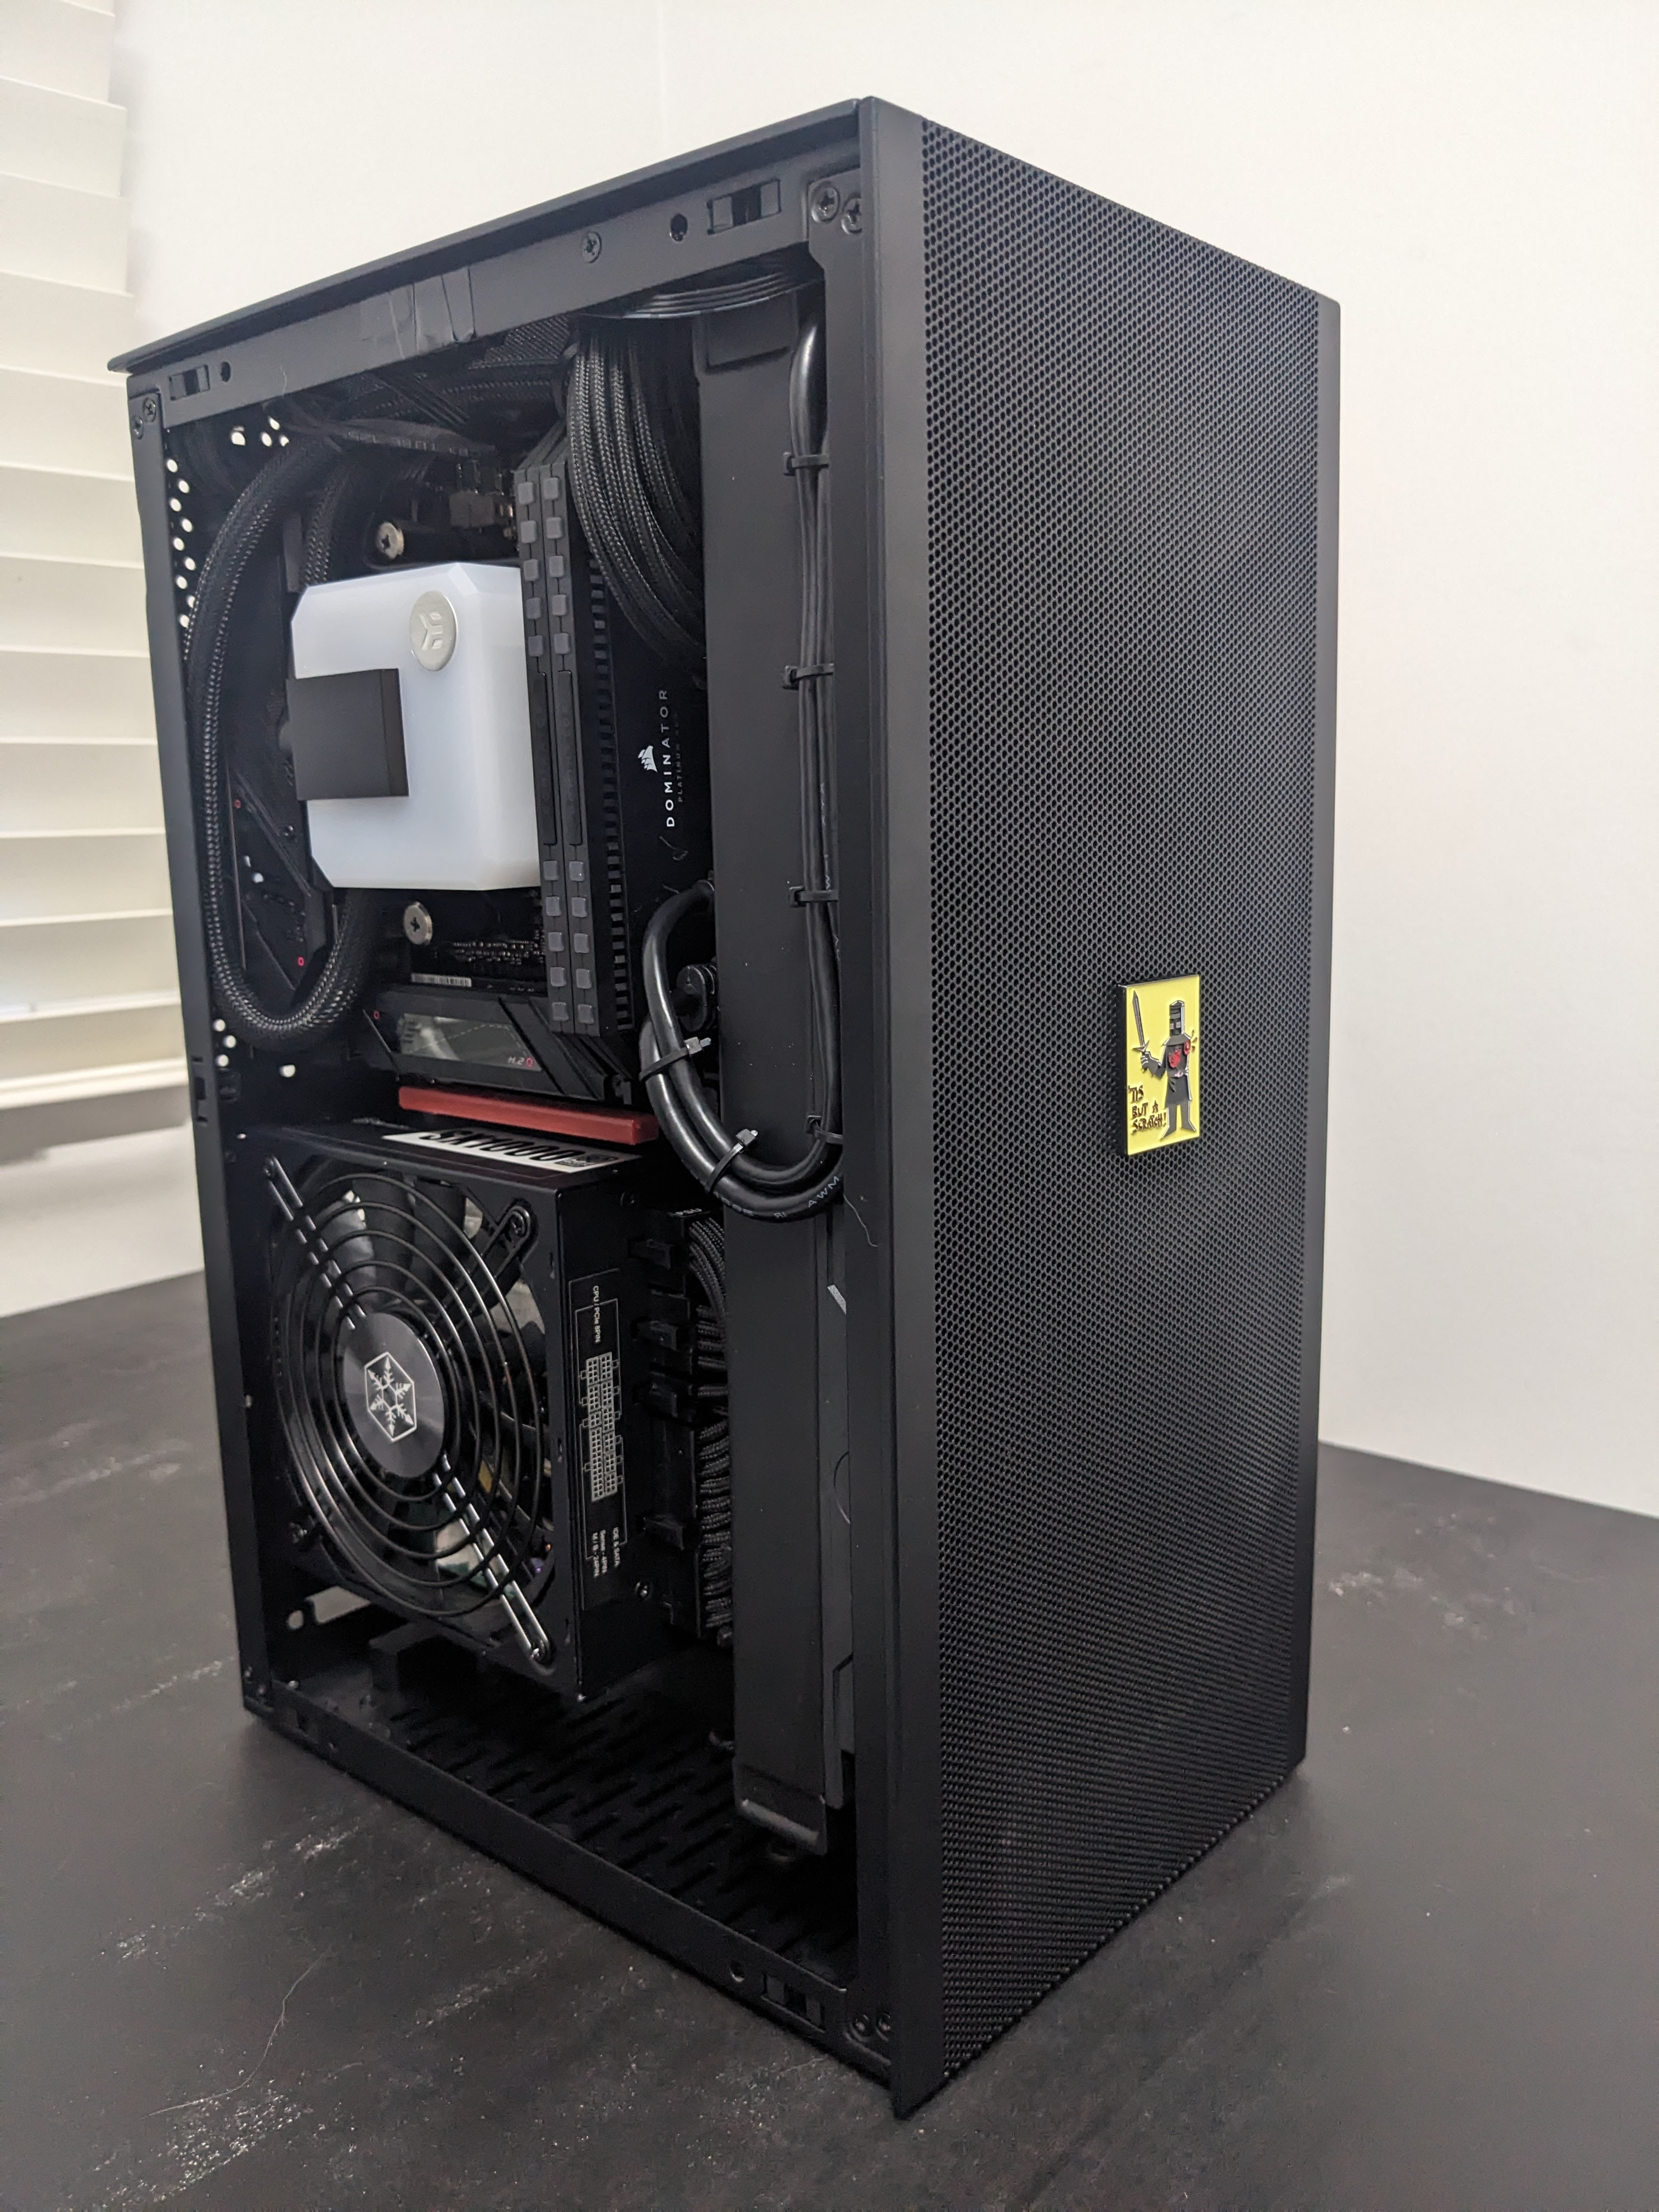
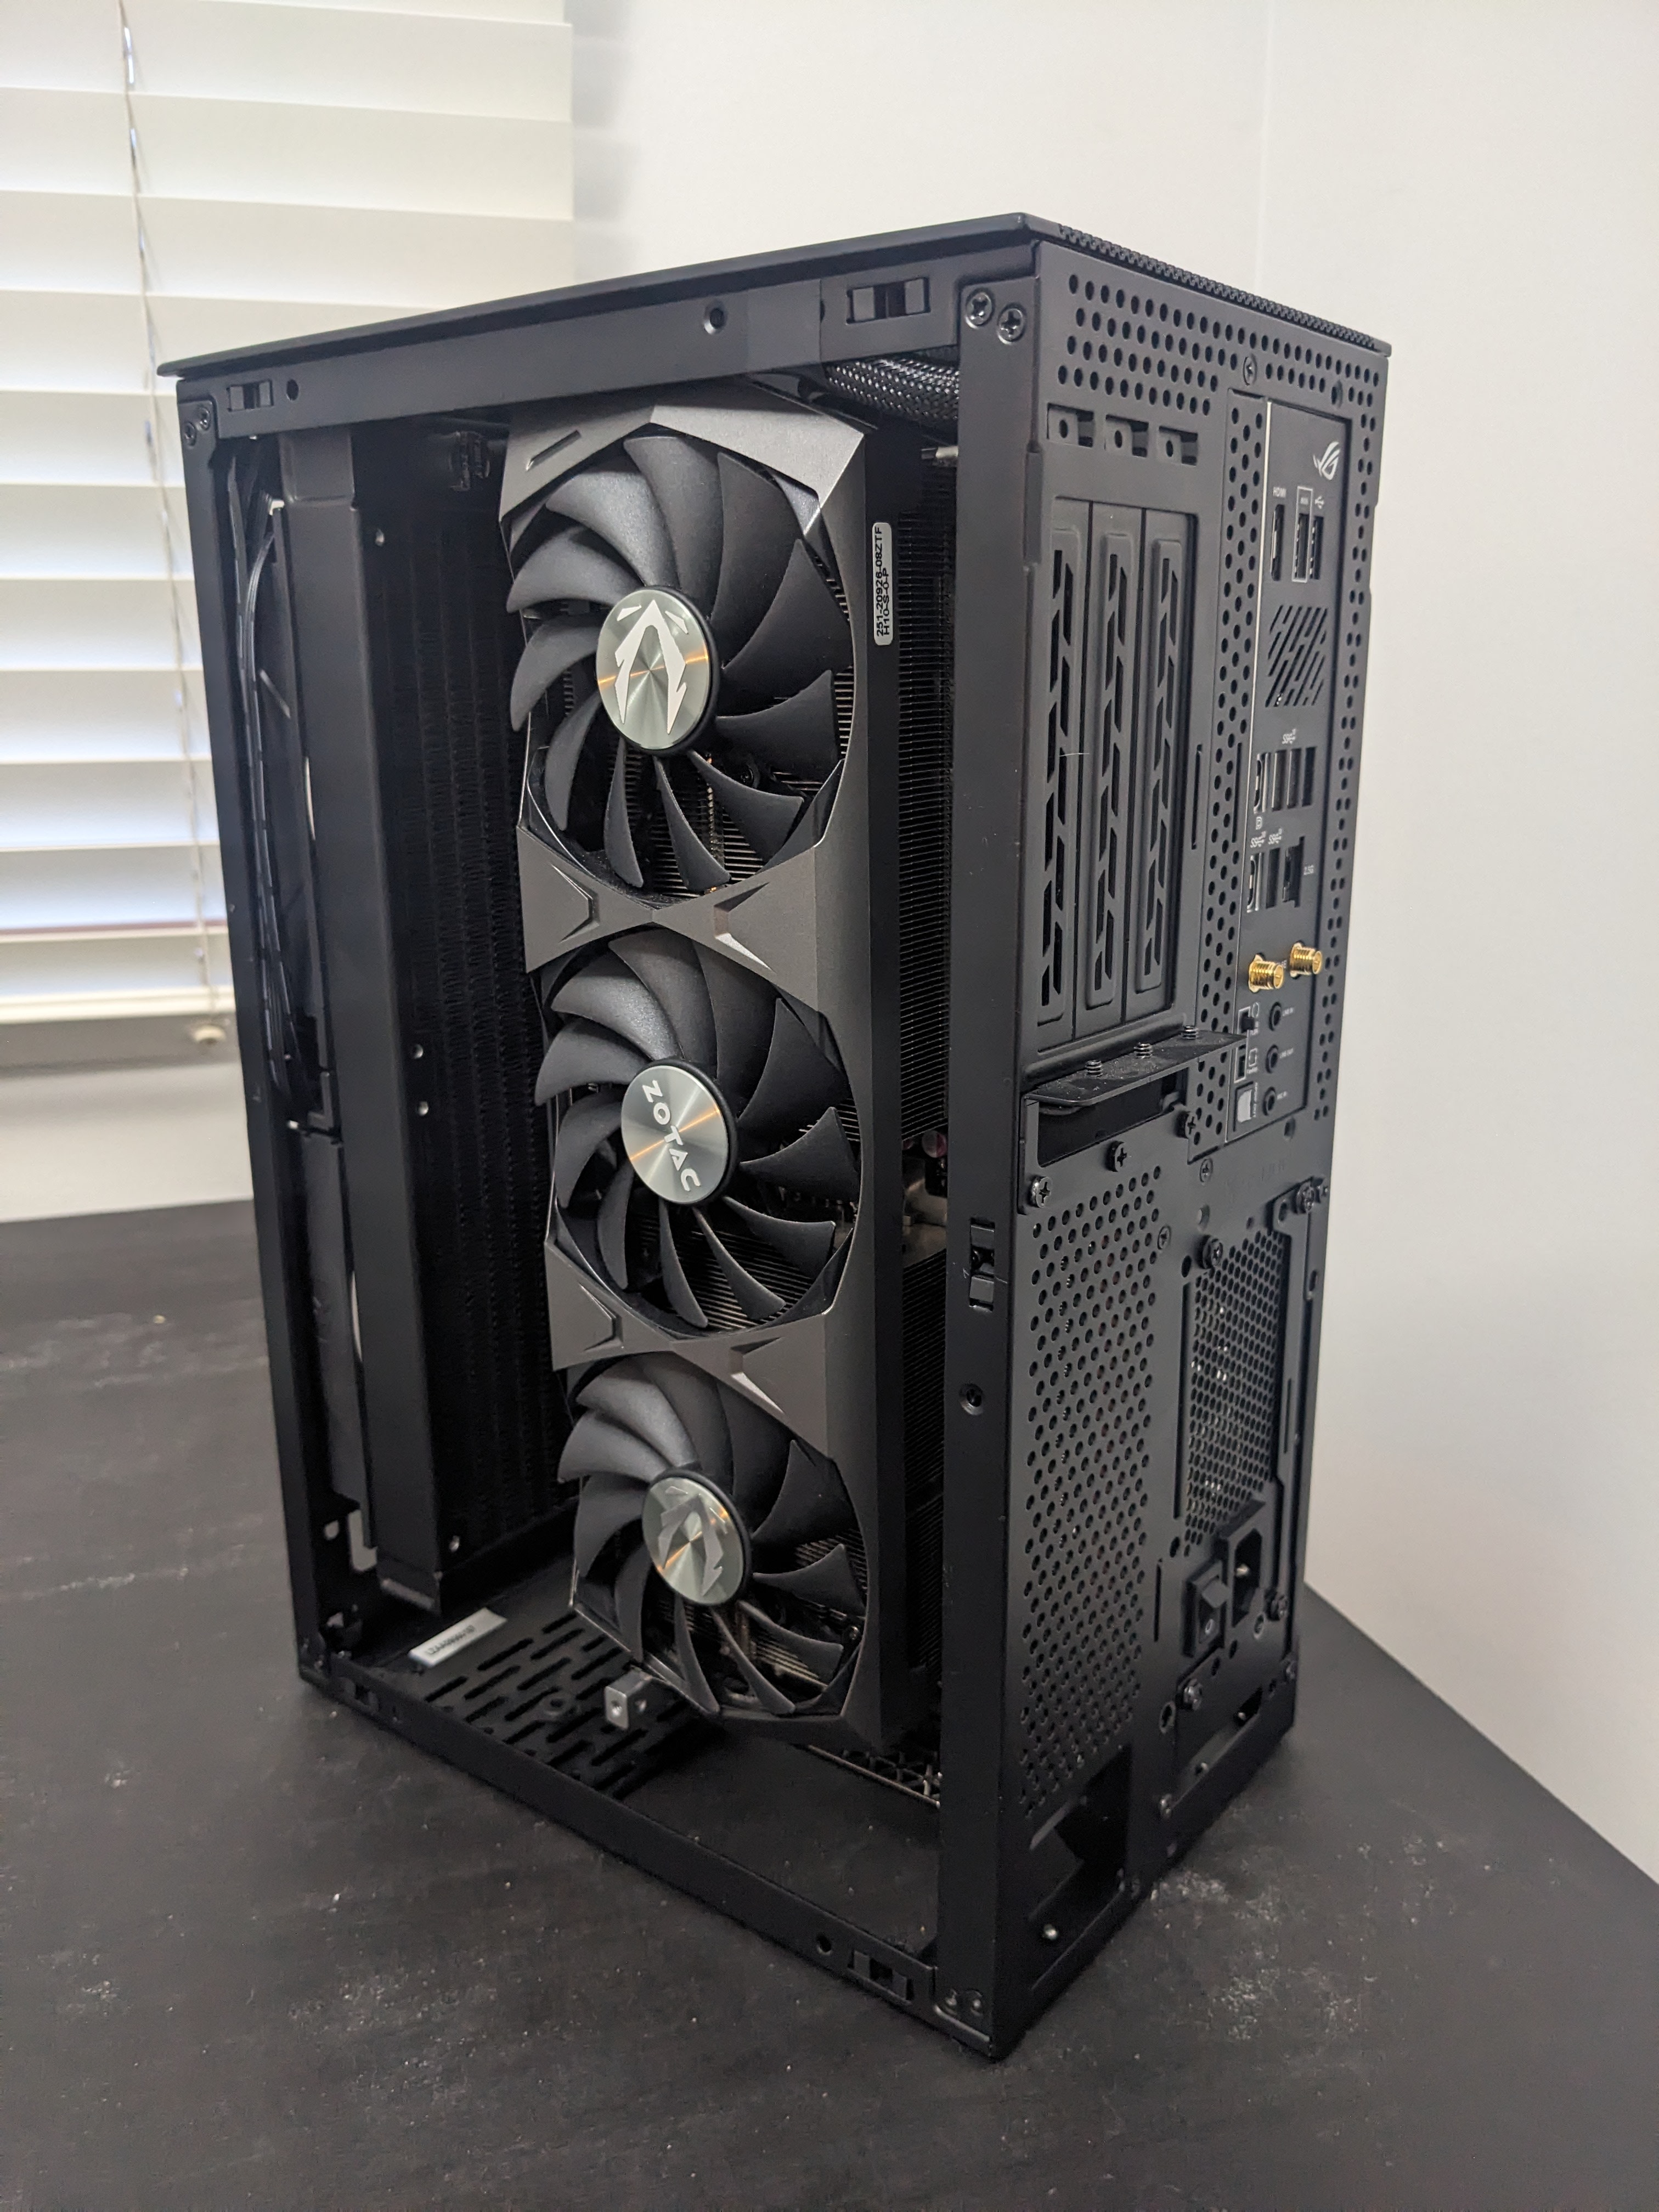
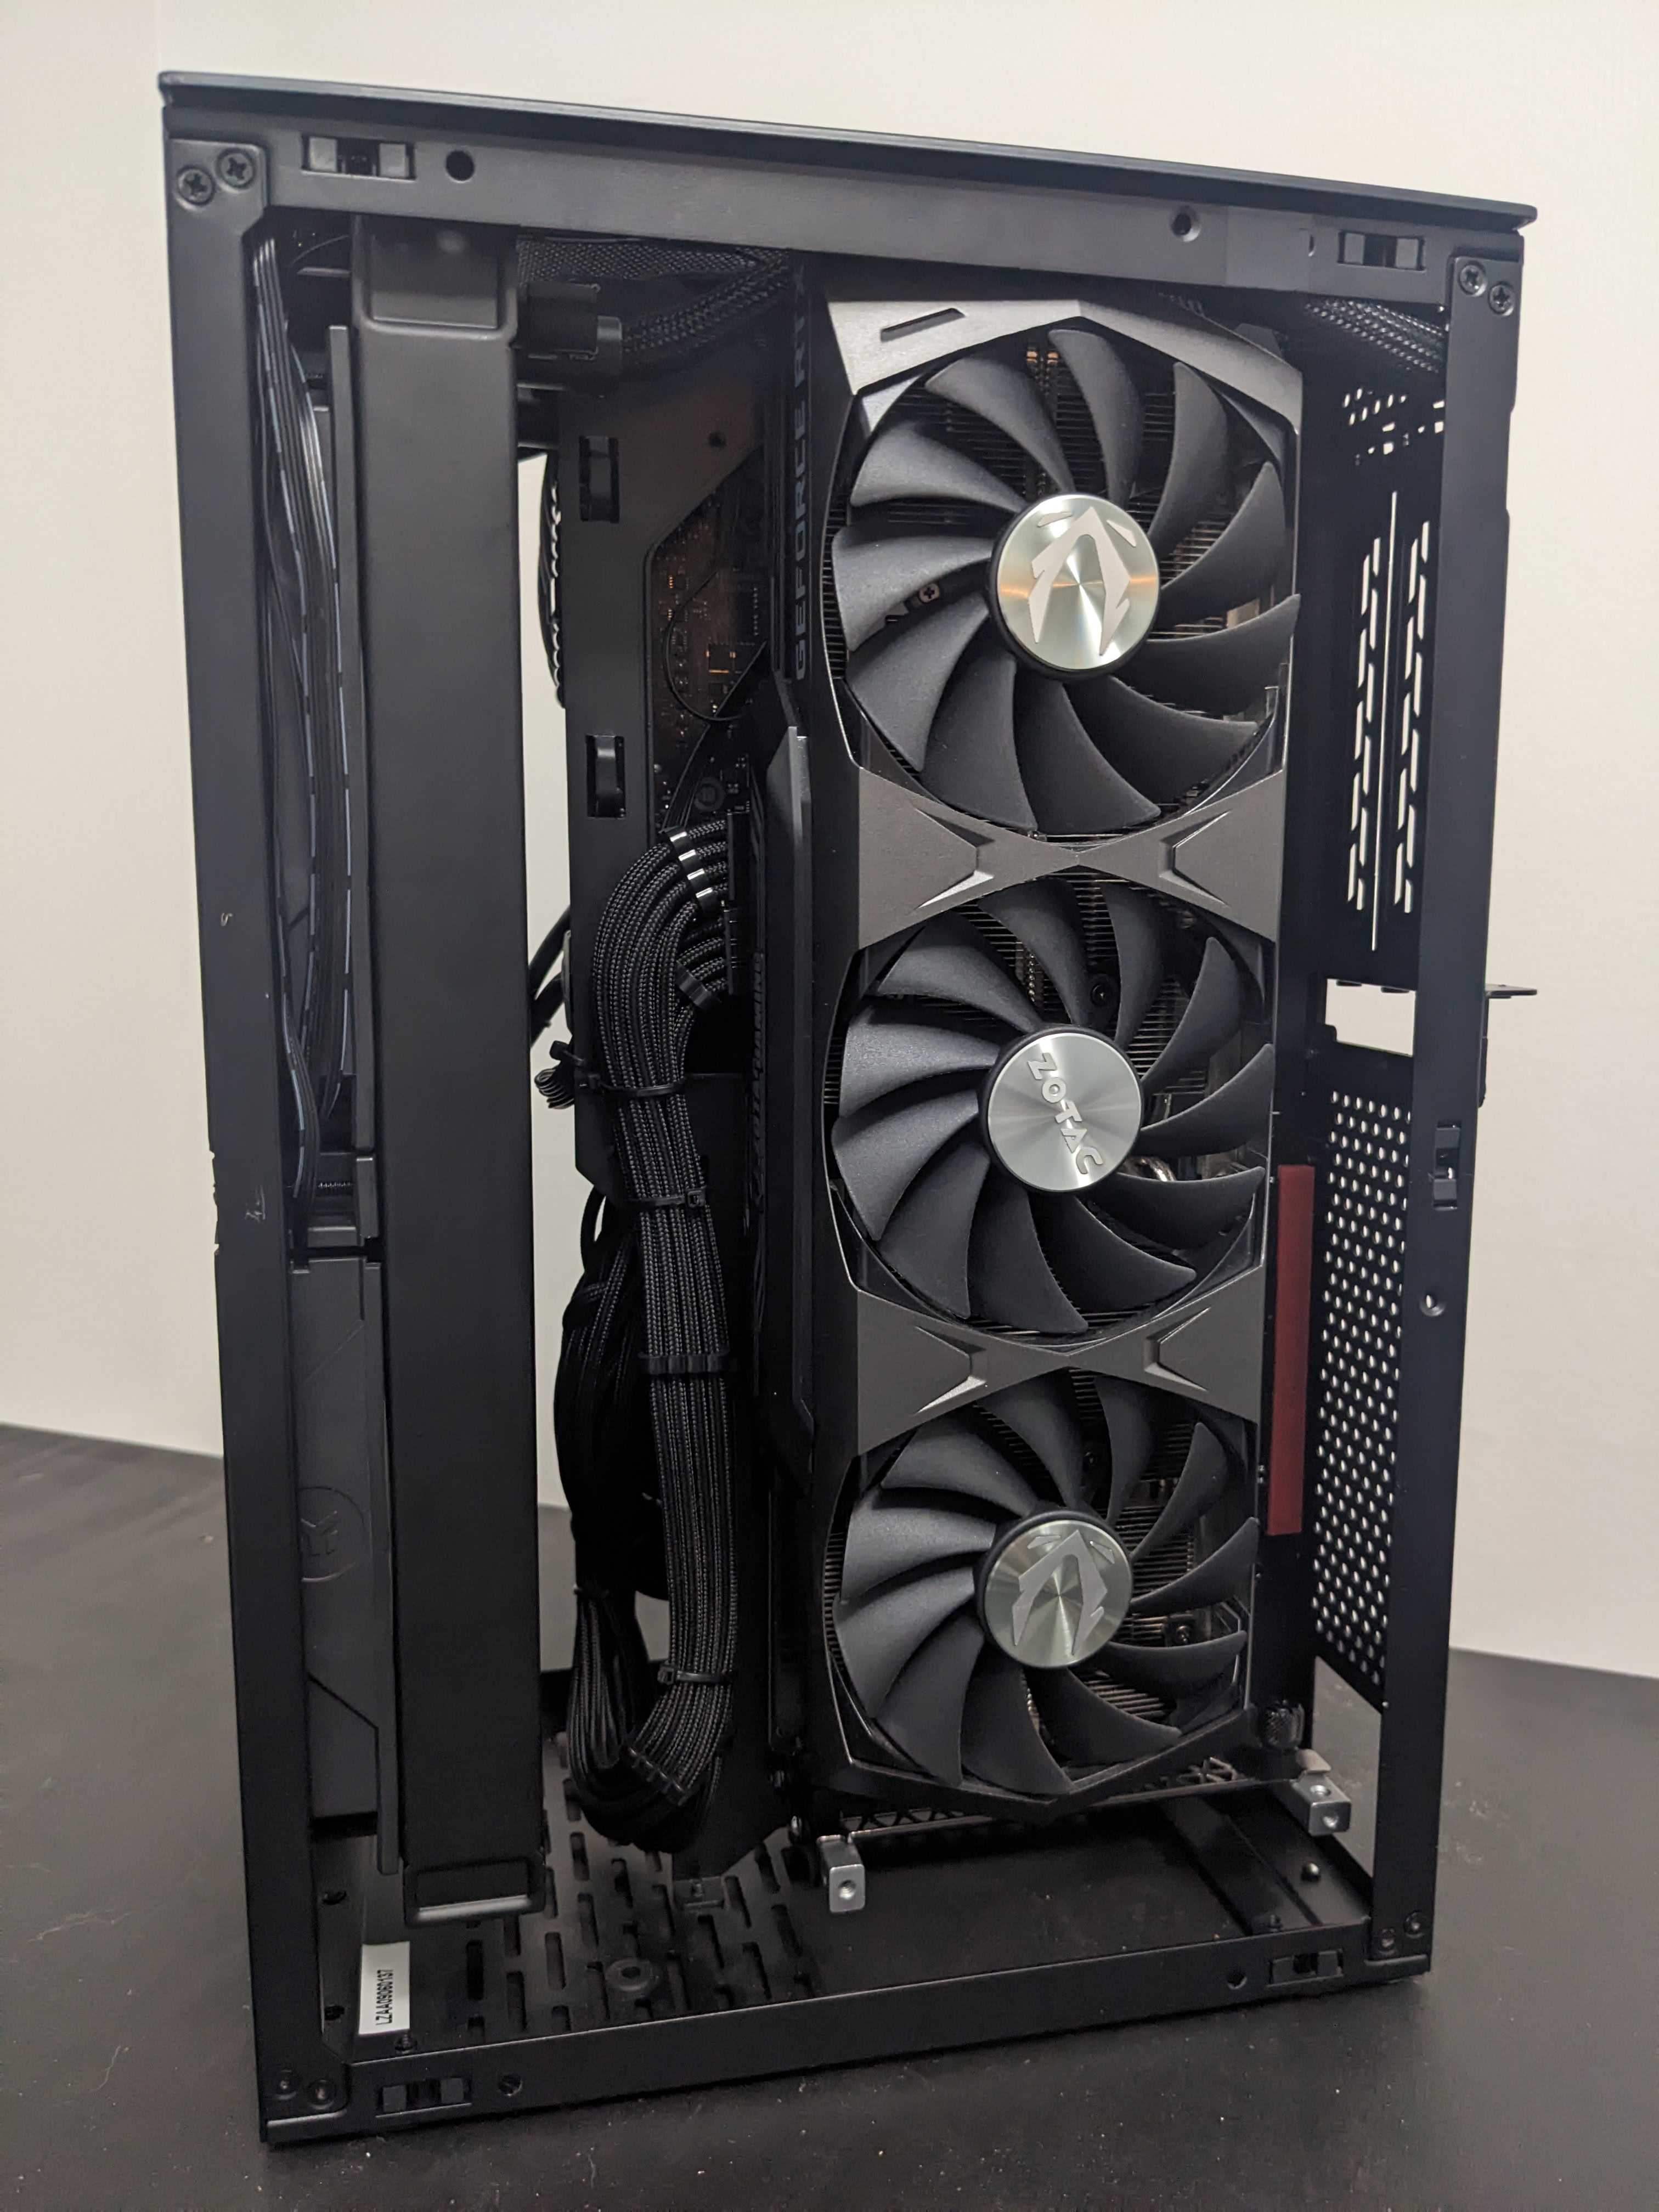
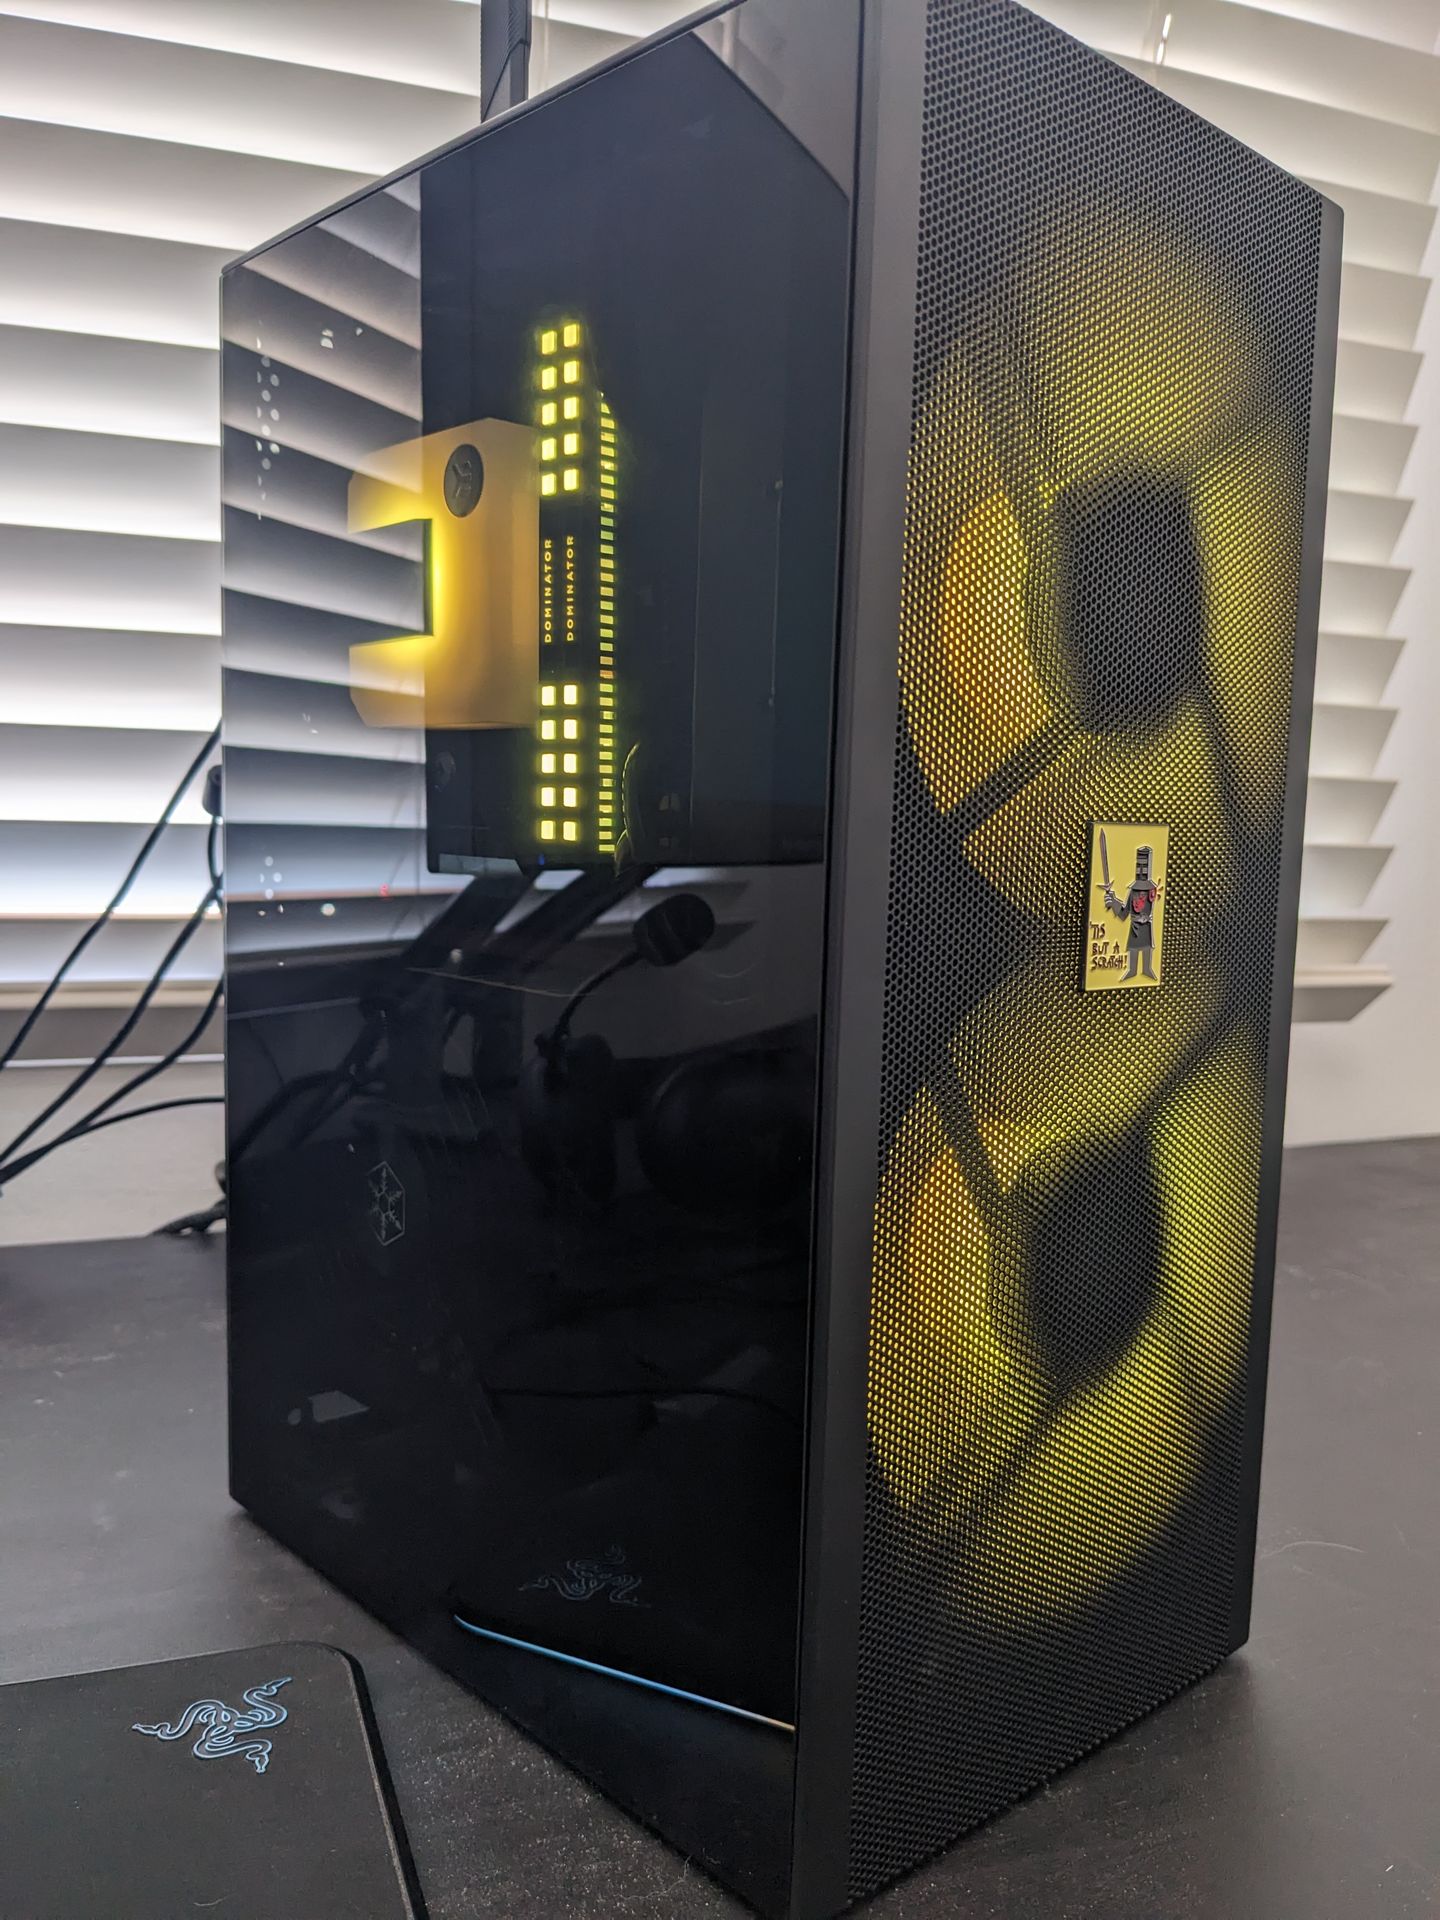
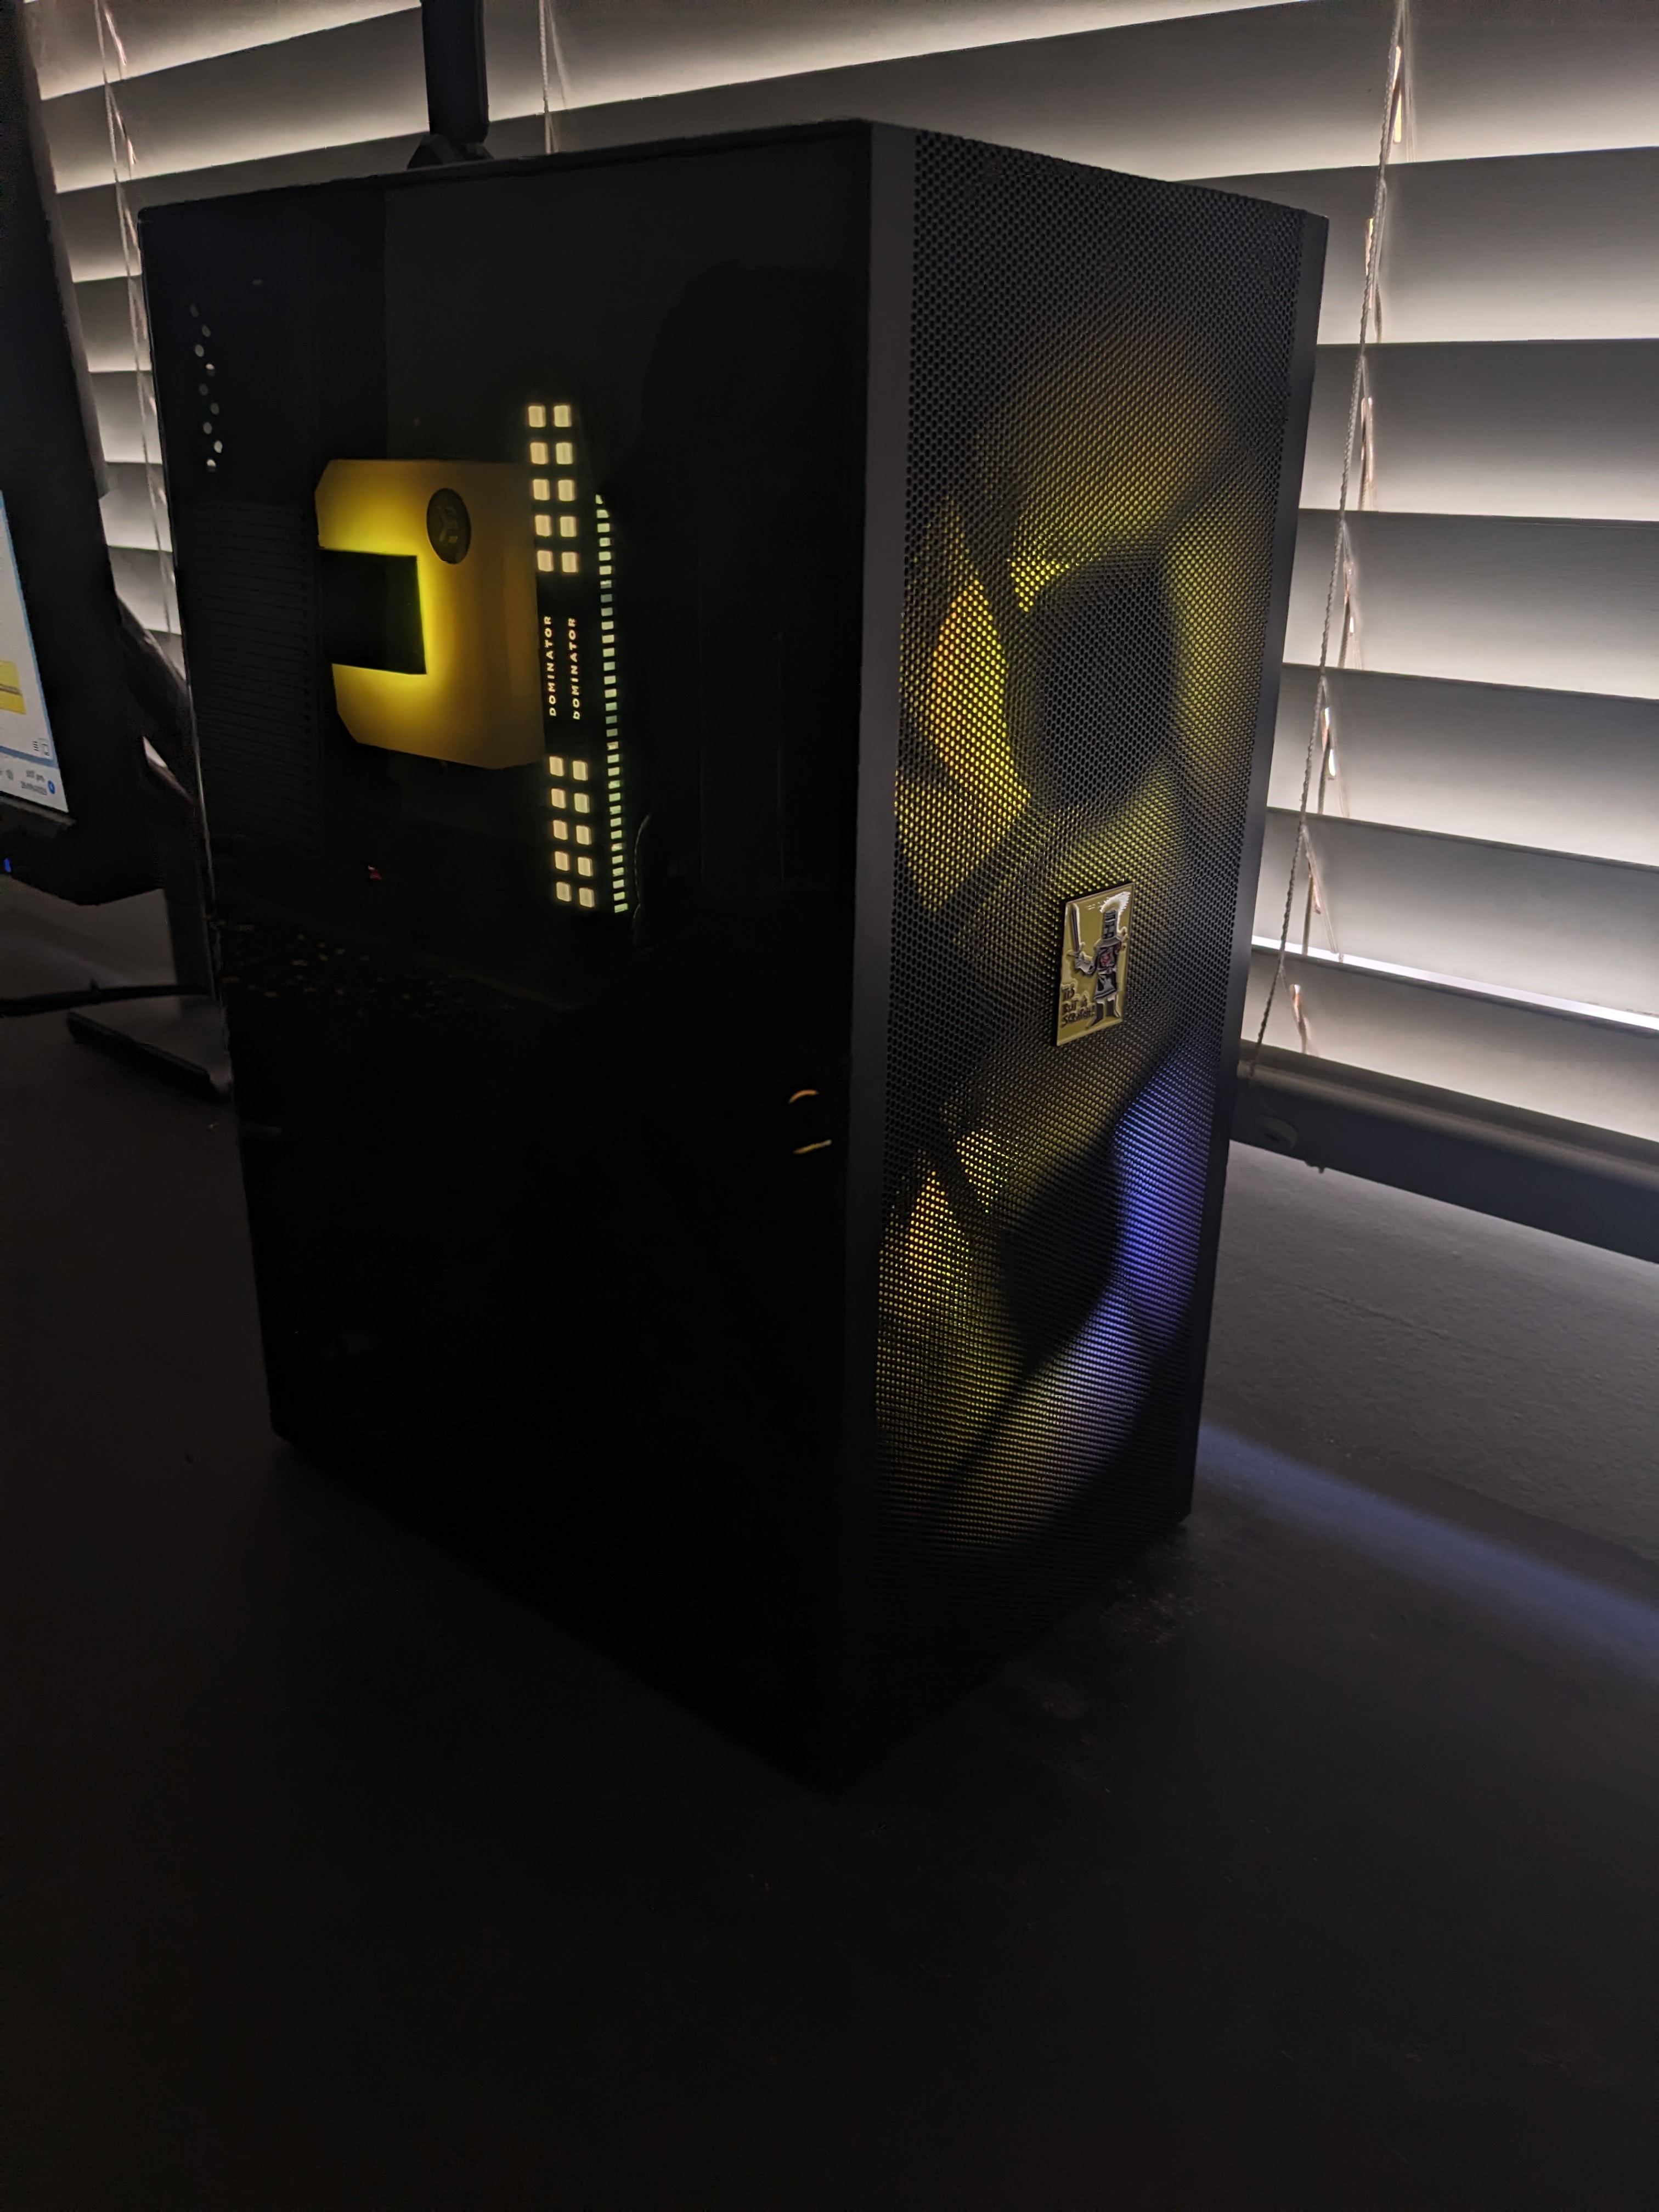
I choose the Meshiolious case, offering radiator support and modifiability while maintaining a small footprint. I have always been a fan of the Dan Case and how he inovated the space. However I opted for the Meshiolious due to being in stock. No regrets, great build quality, nice side panel access, optimal airflow Even with tempered glass panels. Even though the Meshiolious has great compatibility, it was still going to be a challenge to fit a high end card in this case. You can read below how I overcame the challenge.
Cable management
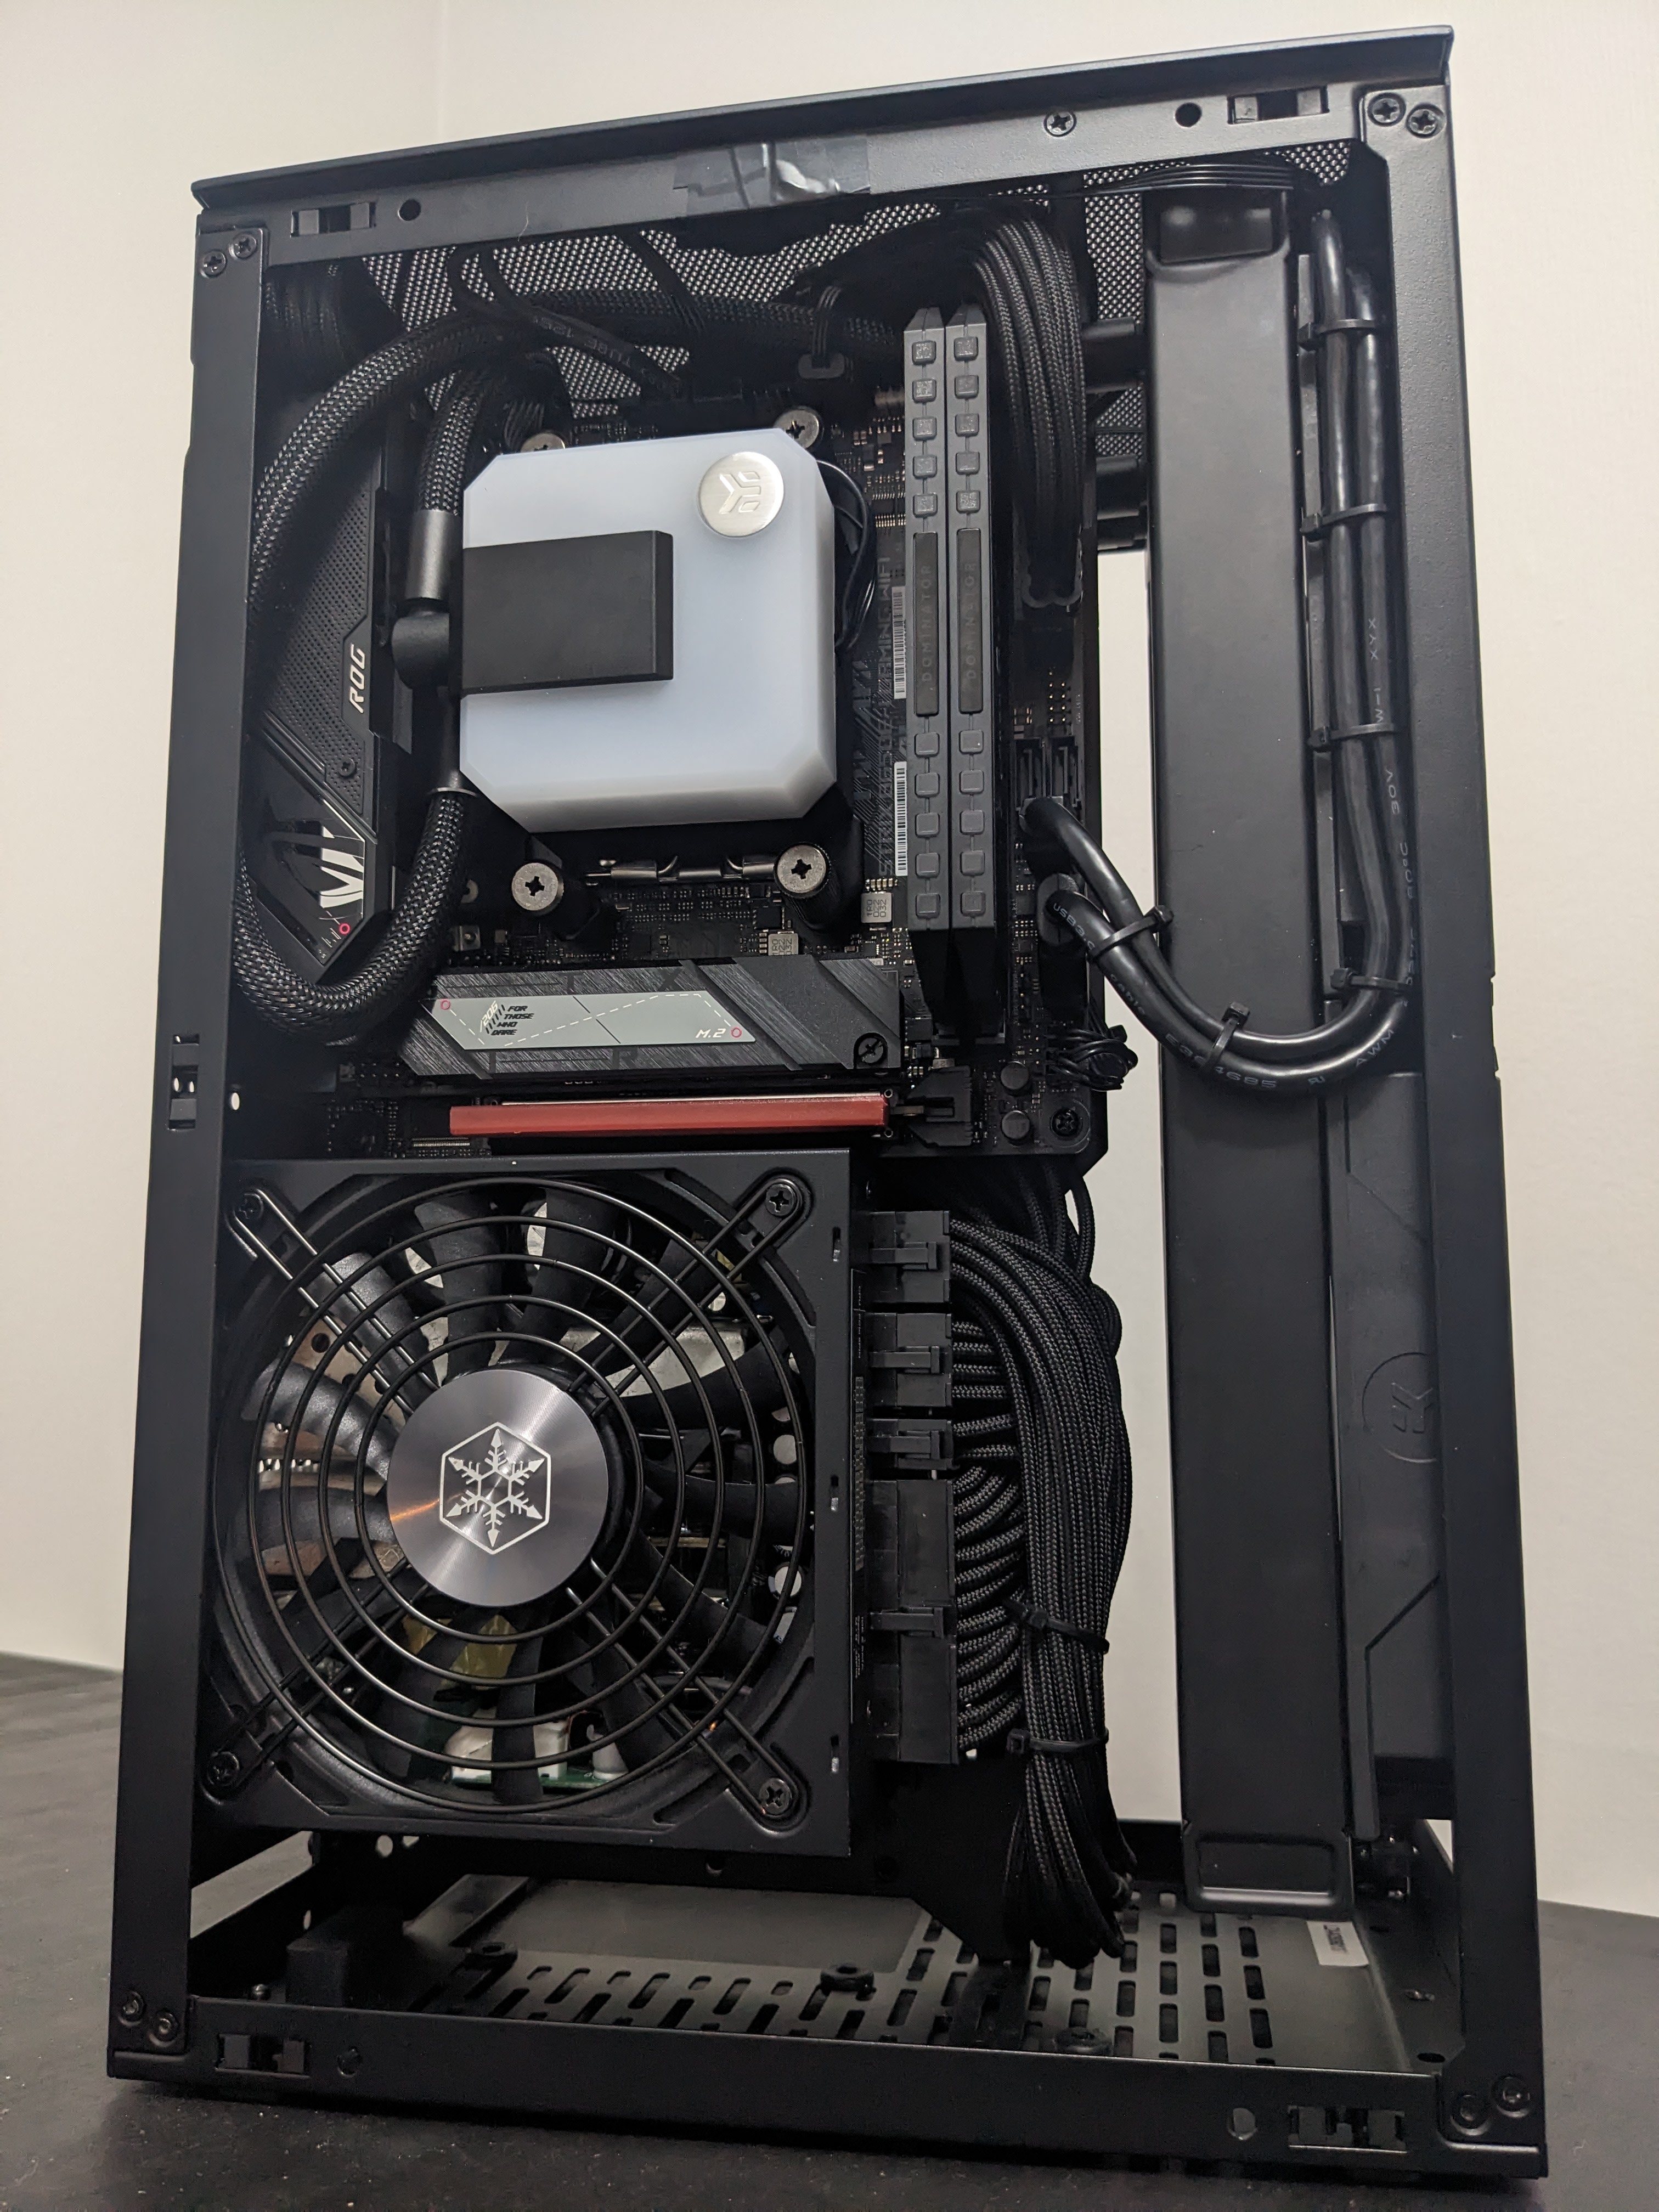
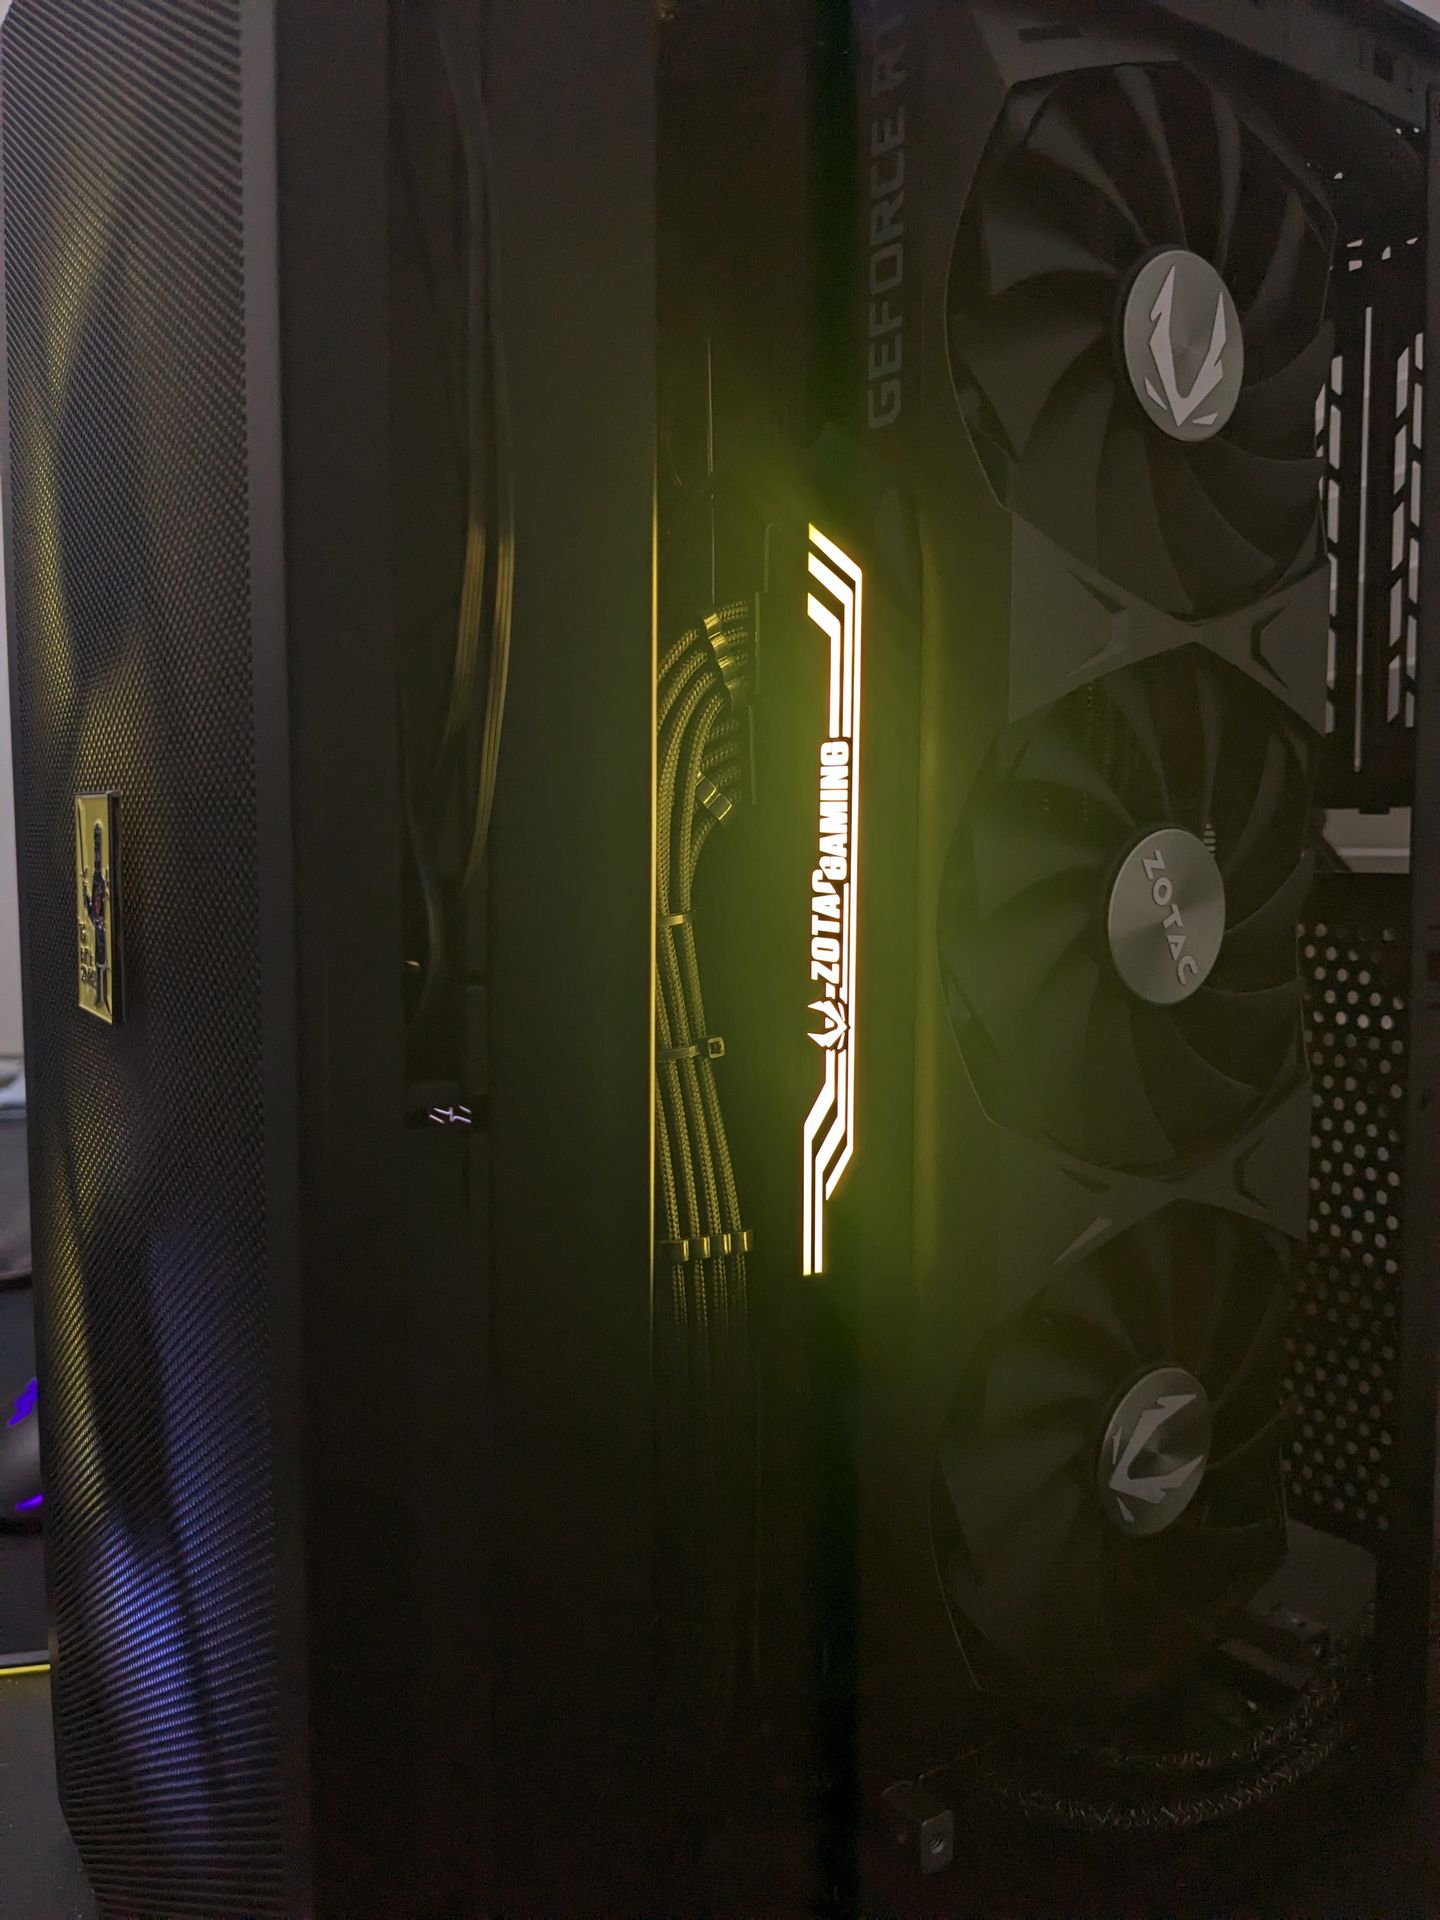
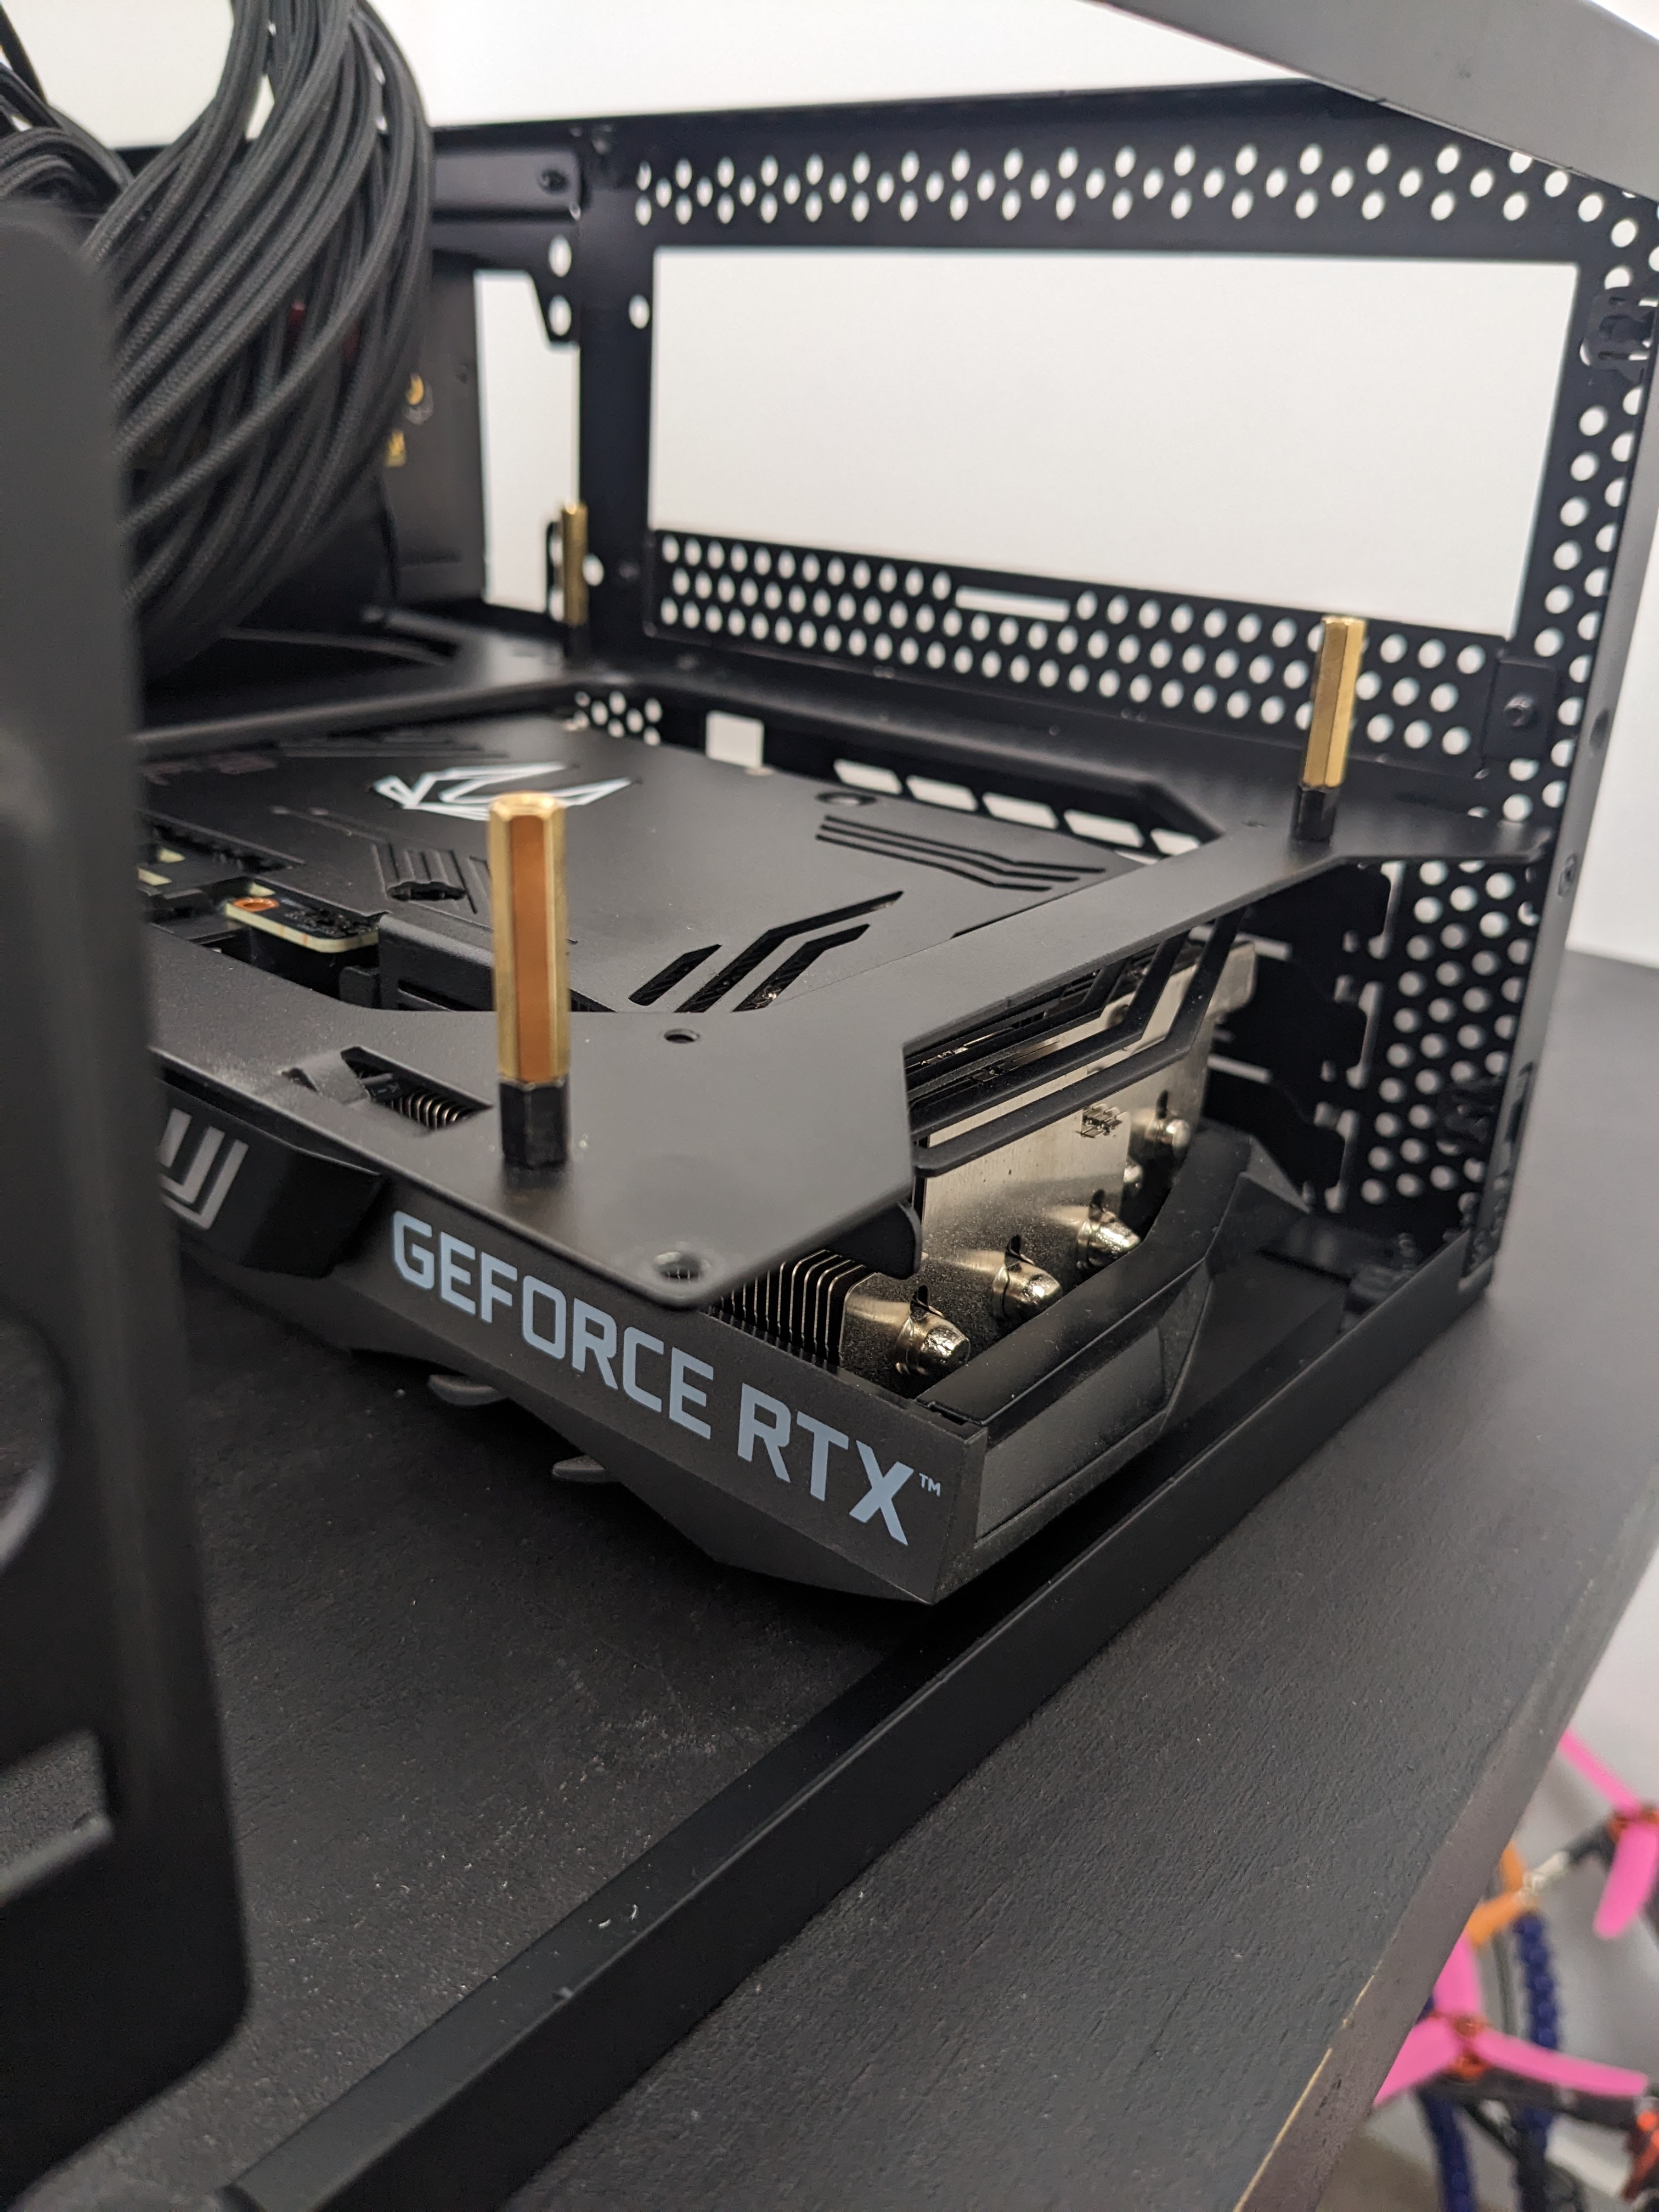
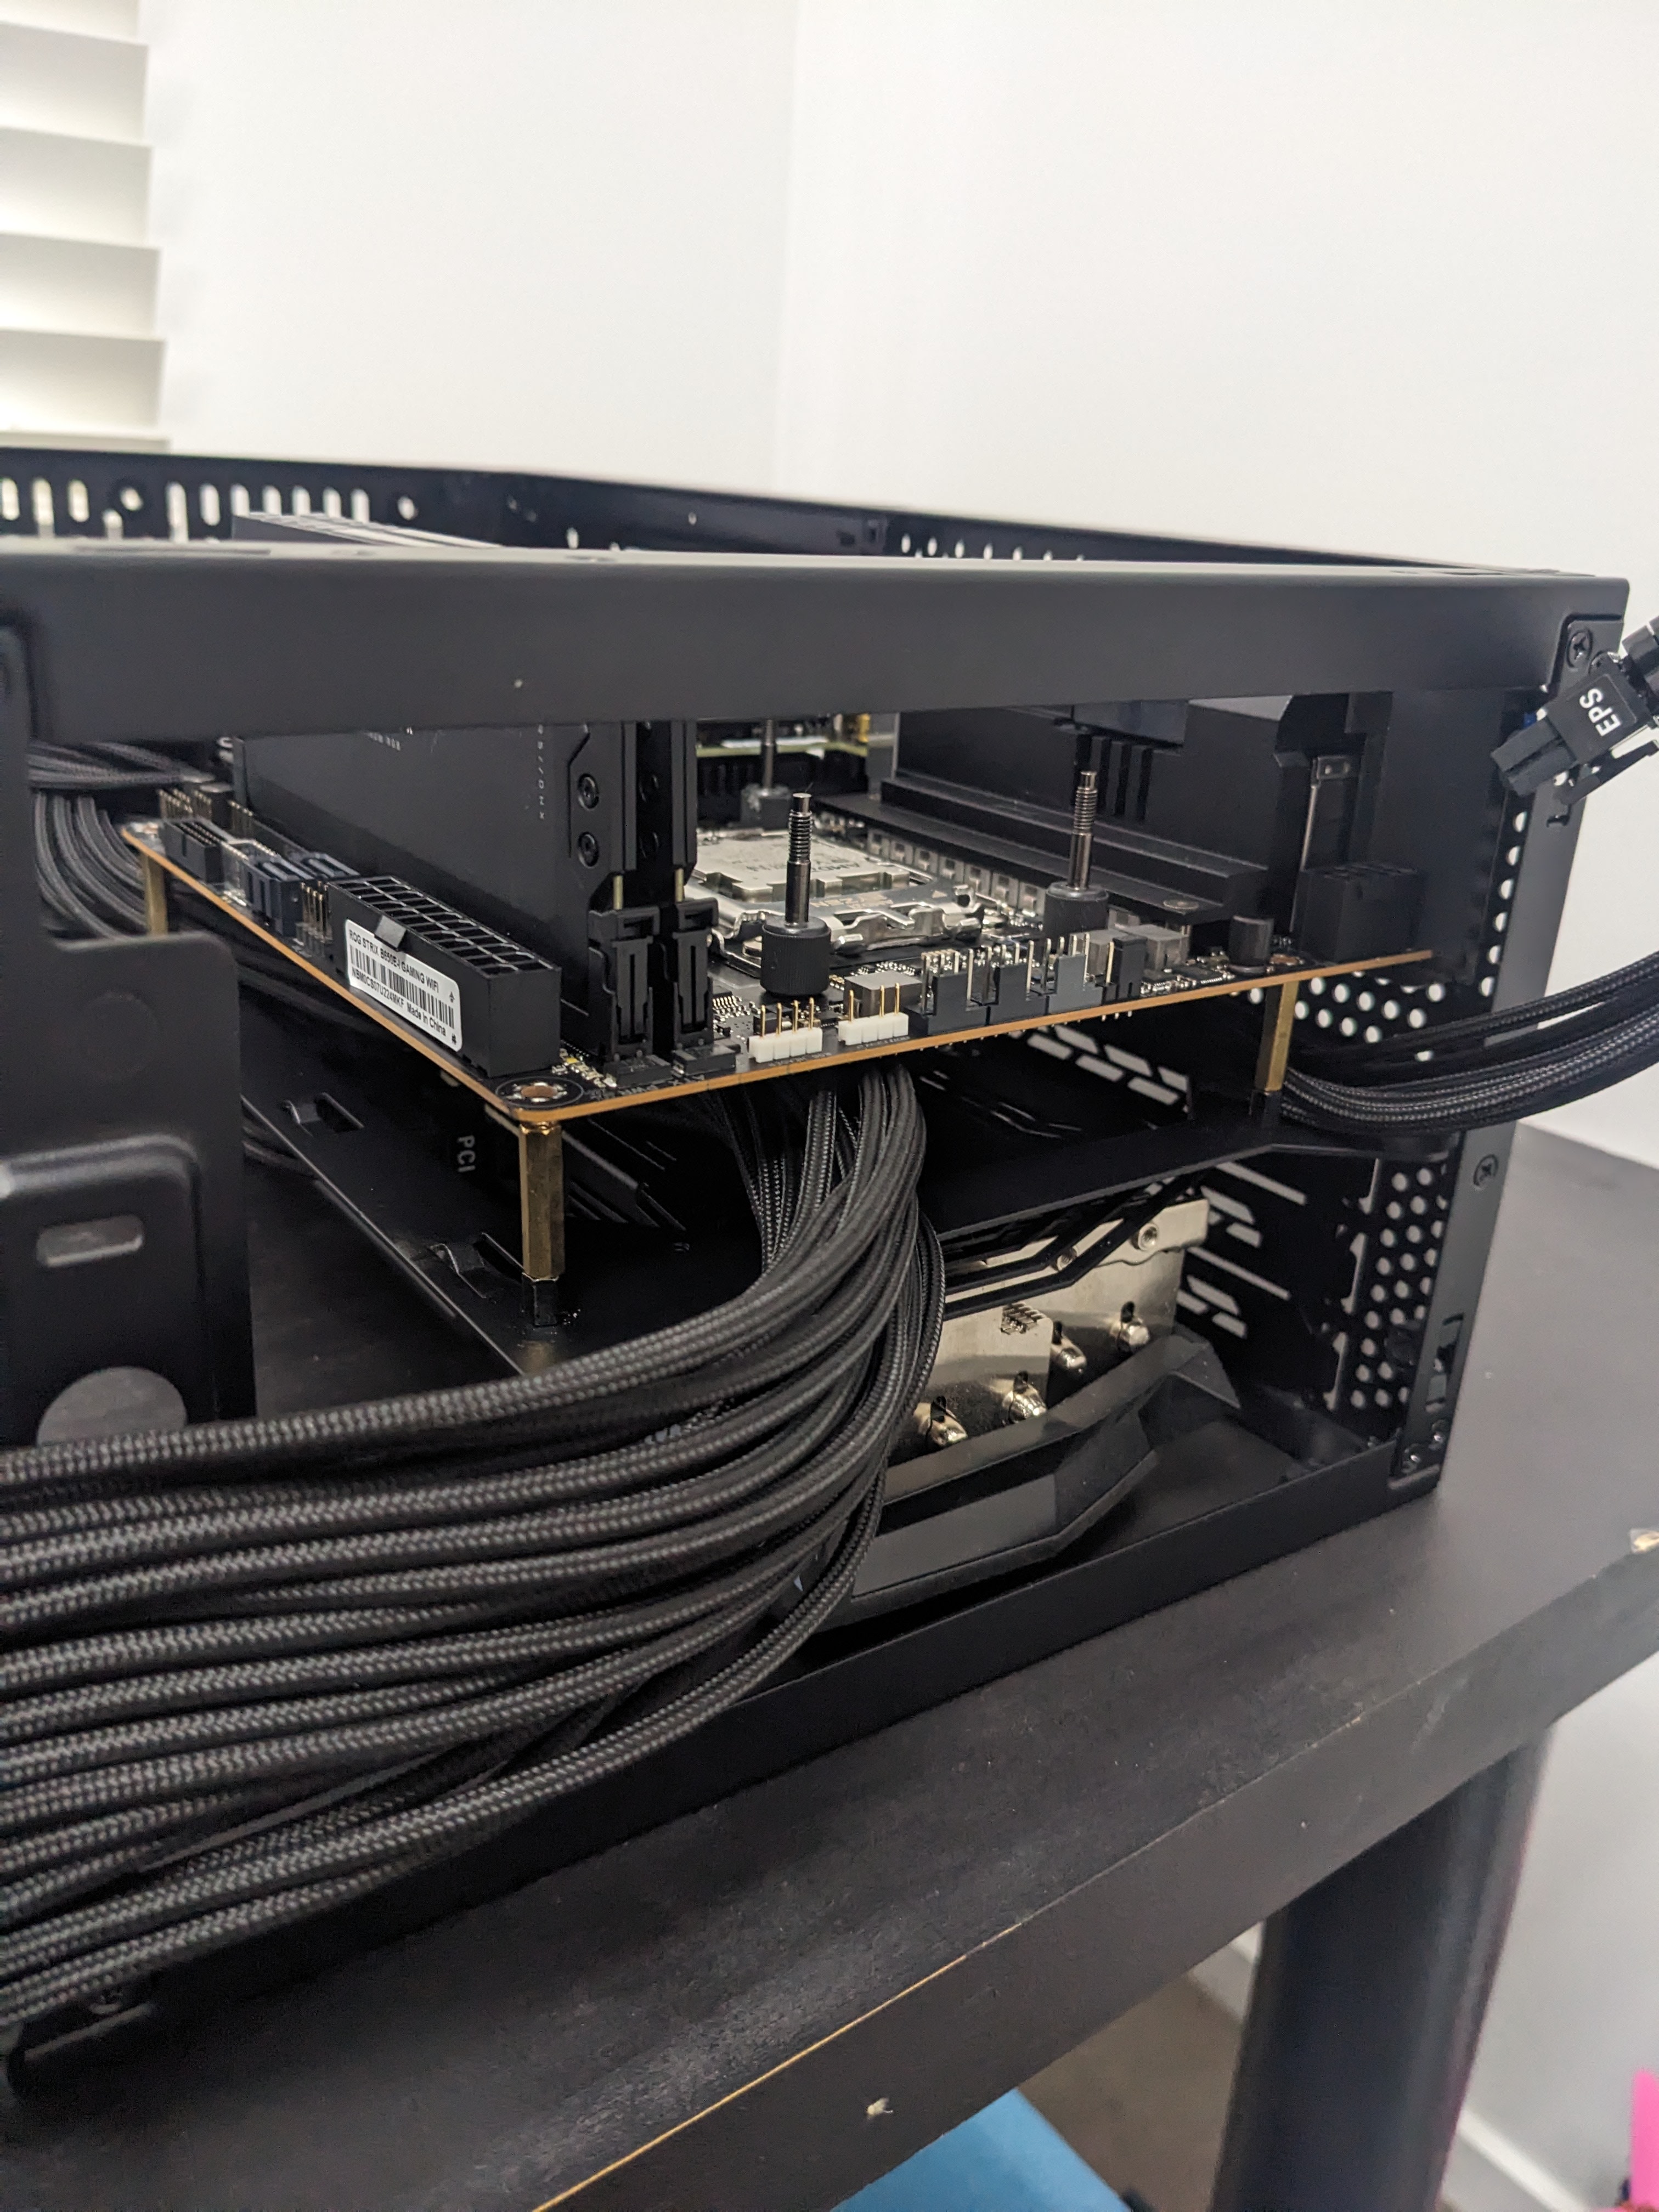
This was the next challenge, especially since I wanted to use the tempered glass panel. At first this seemed too big of a hurdle to get over, however after testing the GPU I discovered a sizable void behind the GPU that could be used to hide cables. This newly discovered void combined with the front panel means you can easily hide a lot of excess cabling.
PSU
Practically no SFX PSU's are in stock in NZ. While keeping with goals. I chose the Silverstone SX1000-LPT. While it lacks ATX 3.0 compatibility, its 5x 8-pin sockets make it an efficient choice, meaning it is still plenty capable.
CPU
The Ryzen 7 7800X3D was an obvious selection for its remarkable performance per watt, aligned with my gaming-centric usage. As this PC is going to be used mainly for gaming and no productivity based work, the decision was an easy one.
Motherboard and Chipset
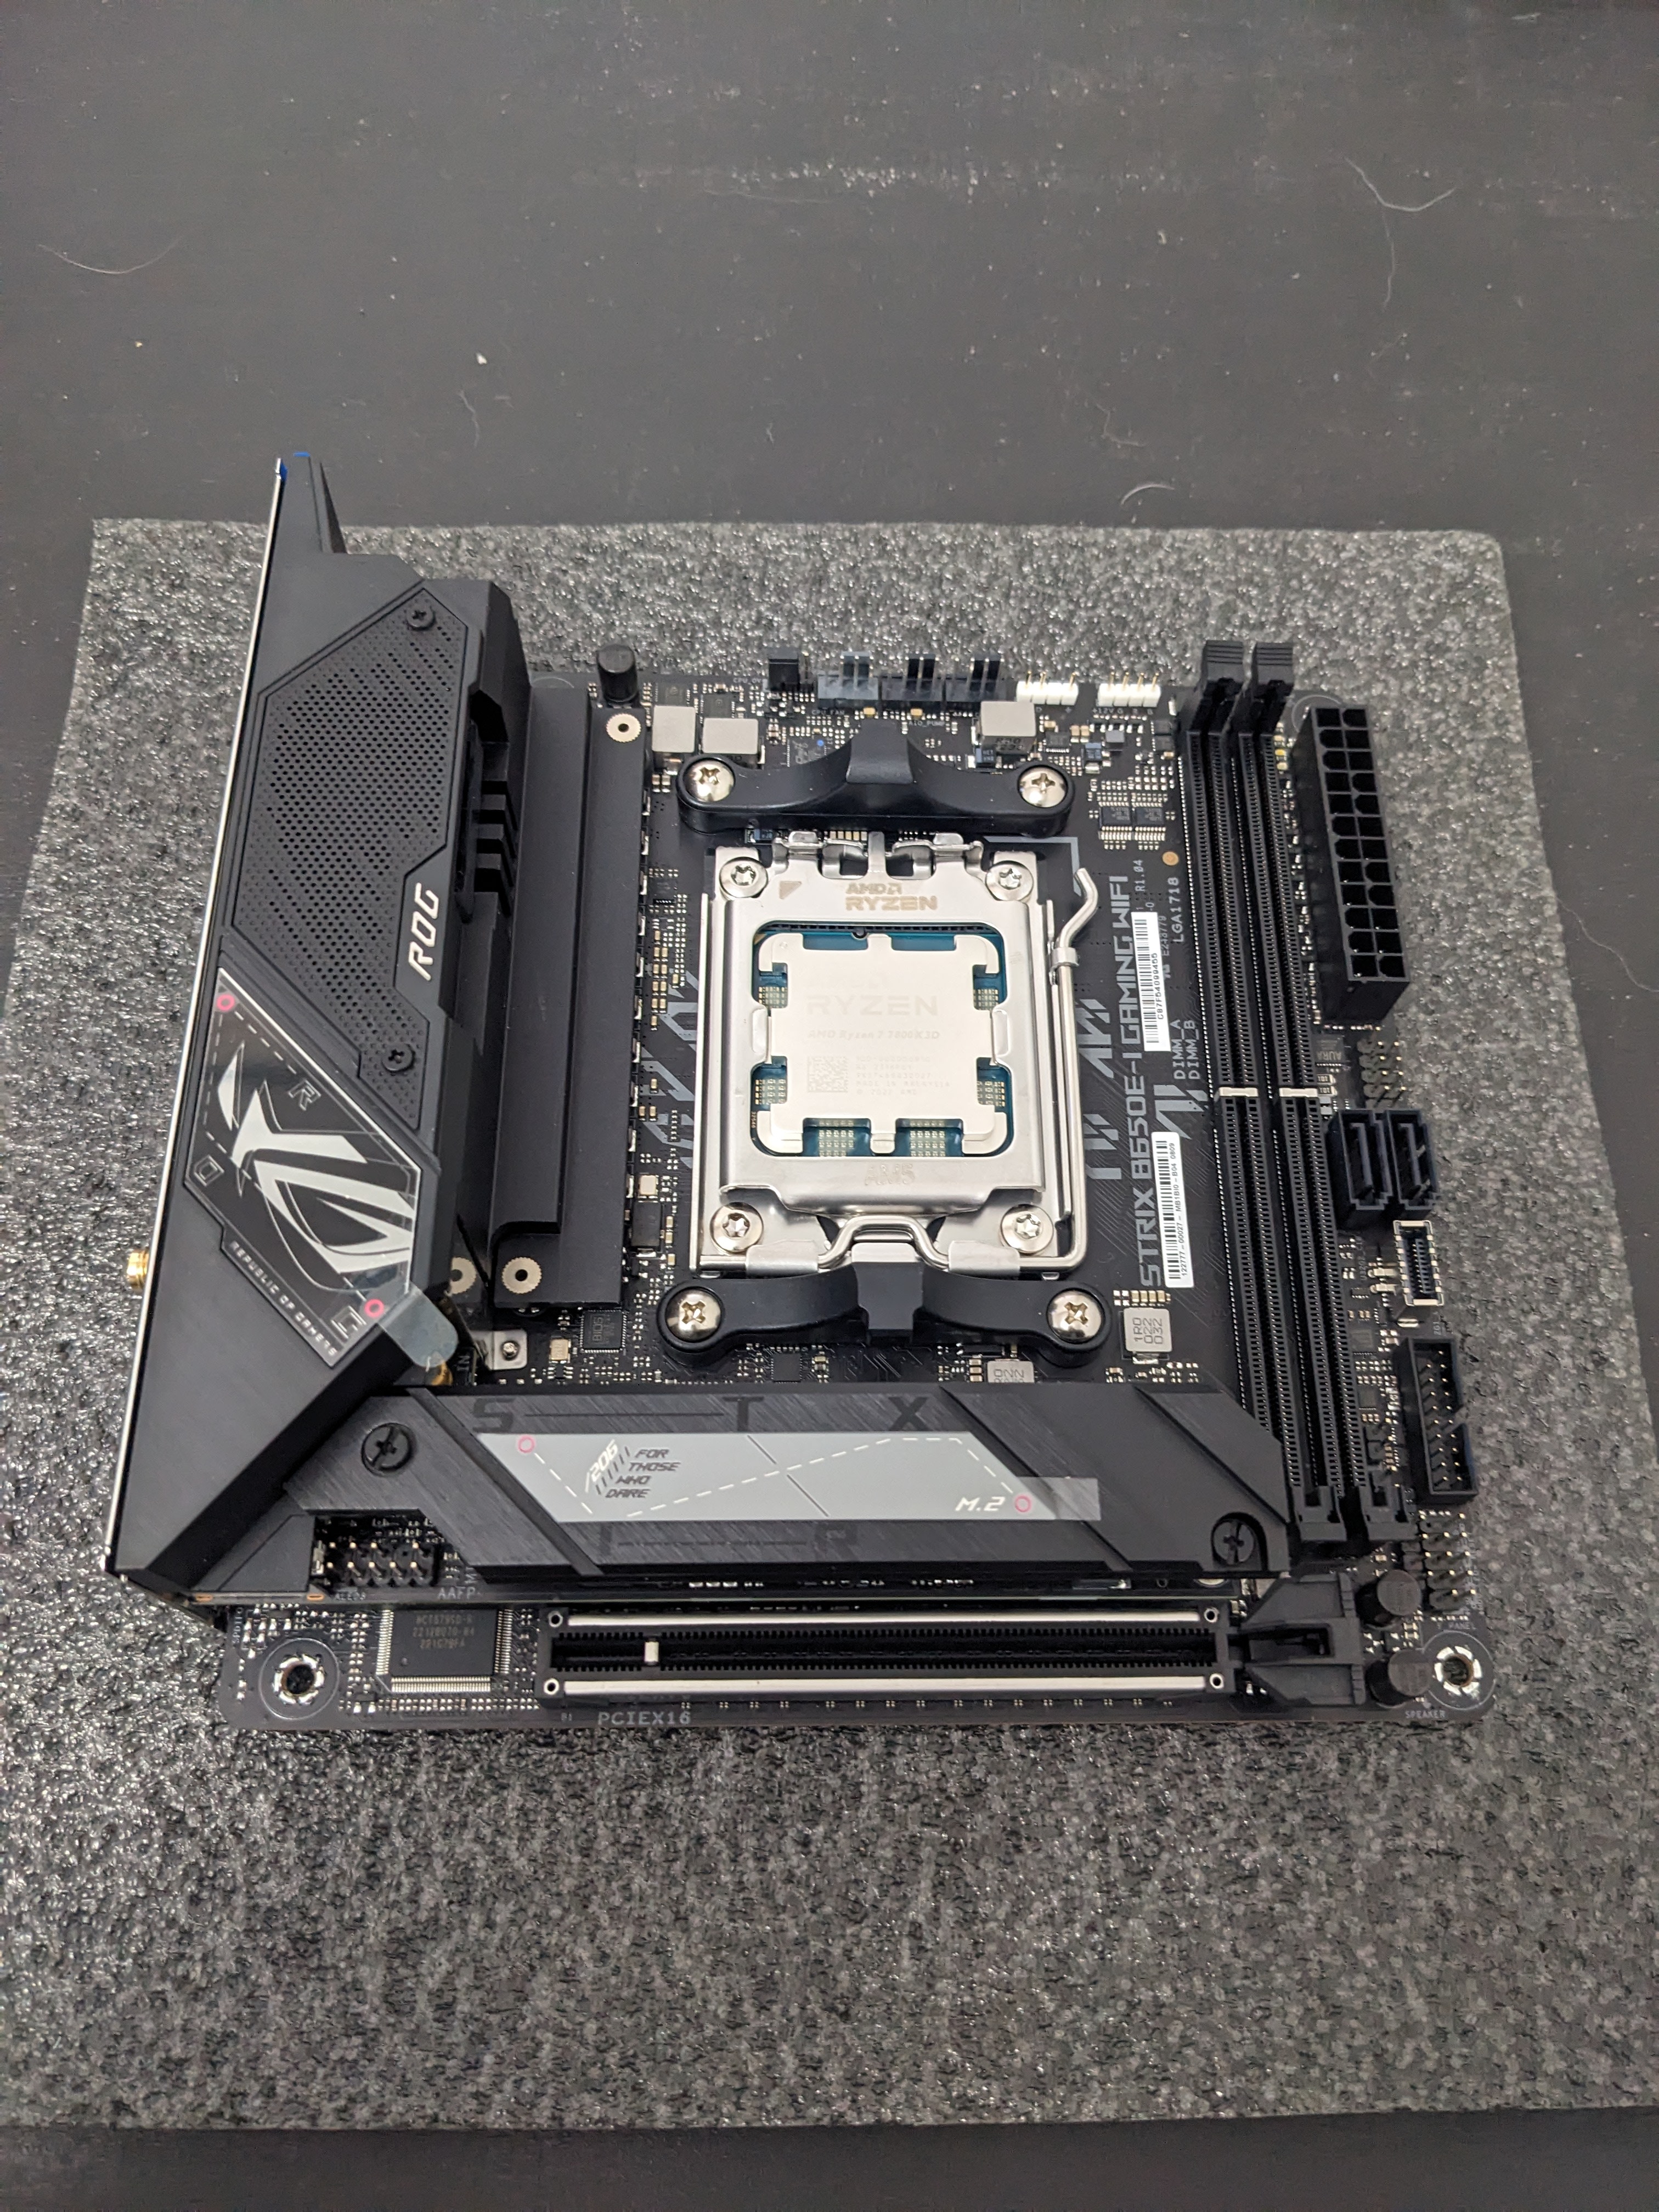
Motherboard's are built for/with a certain so-called chipset. Zen 4 CPUs use the AM5 socket. Since there isn't a plethora of AM5 ITX boards I already have limited my choice. I'm aware of the Ryzen 7 series burning issues, but I had to settle on the ROG STRIX B650E-I. It was either the ASRock B650E PG-ITX or MSI MPG B650I EDGE which is silver (again doesn't fit with the theme) and doesn't have any PCIE5 compatibility.
Memory
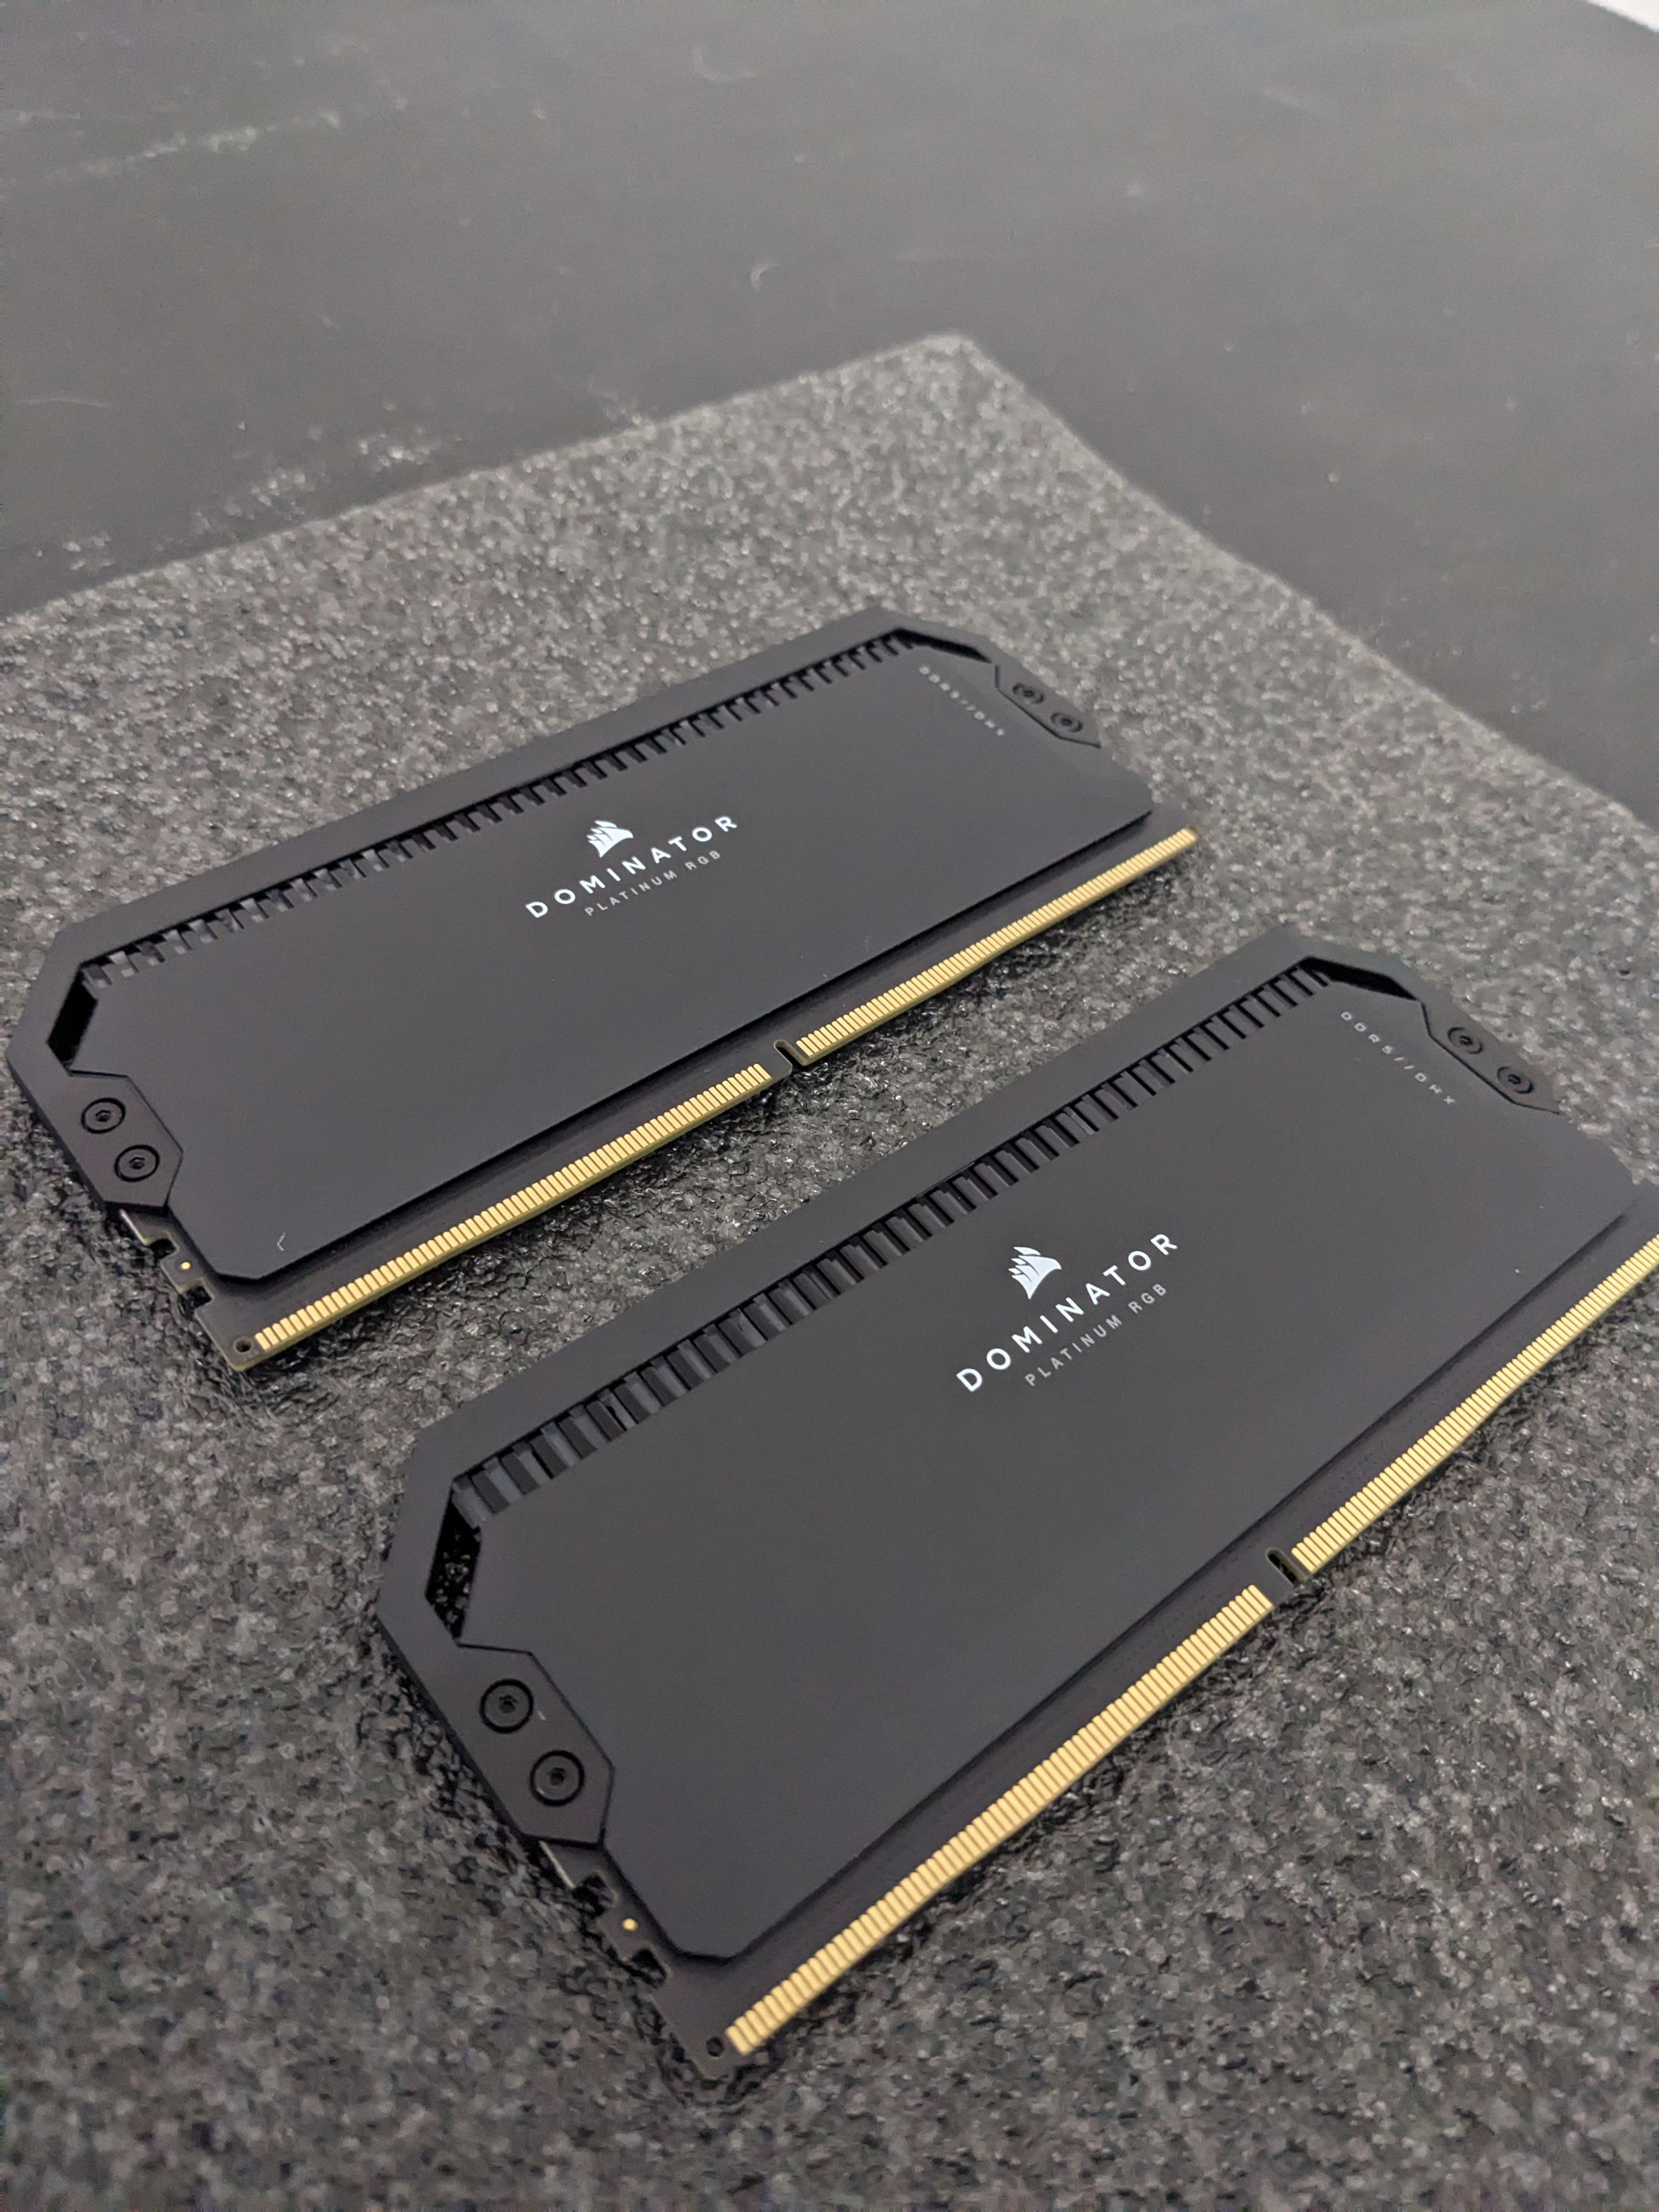
I went with Corsair Dominator Platinum RGB 32GB (2x16GB) DDR5-6400. Reasonably priced and hits that 6400MHz CL32 sweet spot with EXPO. I previously ran 16GB but found with background tasks and Star Citizen this would be a bottleneck in the system.
Graphics Card
I considered waiting for the release of the 4090 but as the ADA Lovelace lineup started to release my brain kicked in and I found it hard to justify the cost on the latest GPU. My local PC shop still had stock of the 3000 series cards. At $1300nzd I picked up the Zotact GTX 3080ti Trinity OC with 5 years warranty. I am happy with the choice, offering unbeatable price-to-performance ratio.
CPU Cooler
EKWB is one of the best watercooling companies around, although the ek-aio 280 d-rgb was one of the cheaper options, don't let that fool you. It is a good all in one water cooler, with quality manufacturing, great thermals even under high load. Nylon wrapped hoses and with an over sized pump design this makes the pump run dead silent. Fans can be noisy so a custom fan curve is required to keep the noise levels respectable.
Storage Solutions
I chose the WD Black SN850X M.2 with 2TB of capacity as my primary drive, this is crazy fast and plenty of storage for the AAA titles. The second drive is a Samsung 970 EVO Plus M.2 with 1 TB of capacity. These disks can deliver more than the ≈312 MB/s that a 2.5 Gbit/s link can handle.
Monitor
Peripherals
Component List
Fine-Tuning and Optimization
Navigating the UEFI setup was essential to fine-tune performance. I updated the BIOS to 1637 and manually adjusted the SoC voltage to 1.27v, ensuring optimal stability.
Efficient Fan Setup
To address thermals and ensure efficient airflow, I devised a strategic fan configuration. This balanced arrangement maximized cooling potential while maintaining a controlled noise level.
Unveiling Performance
Test A: Evaluating CPU Performance with CPU-Z Benchmark
To assess the Ryzen 7 7800X3D CPU, I turned to the CPU-Z benchmark. This comprehensive test dives deep into the CPU's performance, measuring various aspects including single-thread and multi-thread capabilities. The results speak volumes about the processing power driving our gaming rig.

Test B: Crystal Disk Mark to evaluate storage performance
Unveiling the capabilities of my storage drives, I employed Crystal Disk Mark to assess their read and write speeds. This benchmark provides insights into the snappiness of our system, showcasing how quickly data can be accessed and transferred. The results reflect the efficiency and responsiveness of our storage solutions.


Test C: Stress-Testing Graphics with Furmark GPU Benchmark
Pushing the Zotac GTX 3080ti Trinity OC to its limits, i utilized the Furmark GPU benchmark. This stress test subjected my graphics card to a demanding workload, revealing its thermal performance, stability under pressure, and potential for seamless gaming experiences.


Test D: Power usage analysis for efficiency assessment
Efficiency meets power consumption as I analyze my gaming rig's power usage. I found the PC consumes the following under each workloadabout;
- 104W of power when idle
- 174W of power under CPU stress test
- 505W of power under GPU stress test
Future Aspirations
I'm excited about potential upgrades and enhancements:
- Incorporating joysticks for immersive gameplay
- Upgrading to a curved monitor for enhanced visuals
- Planning for GPU upgrades in future generations
- Exploring the realm of custom loop cooling solutions
Images of Completed Build
